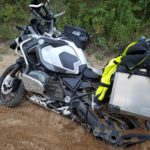
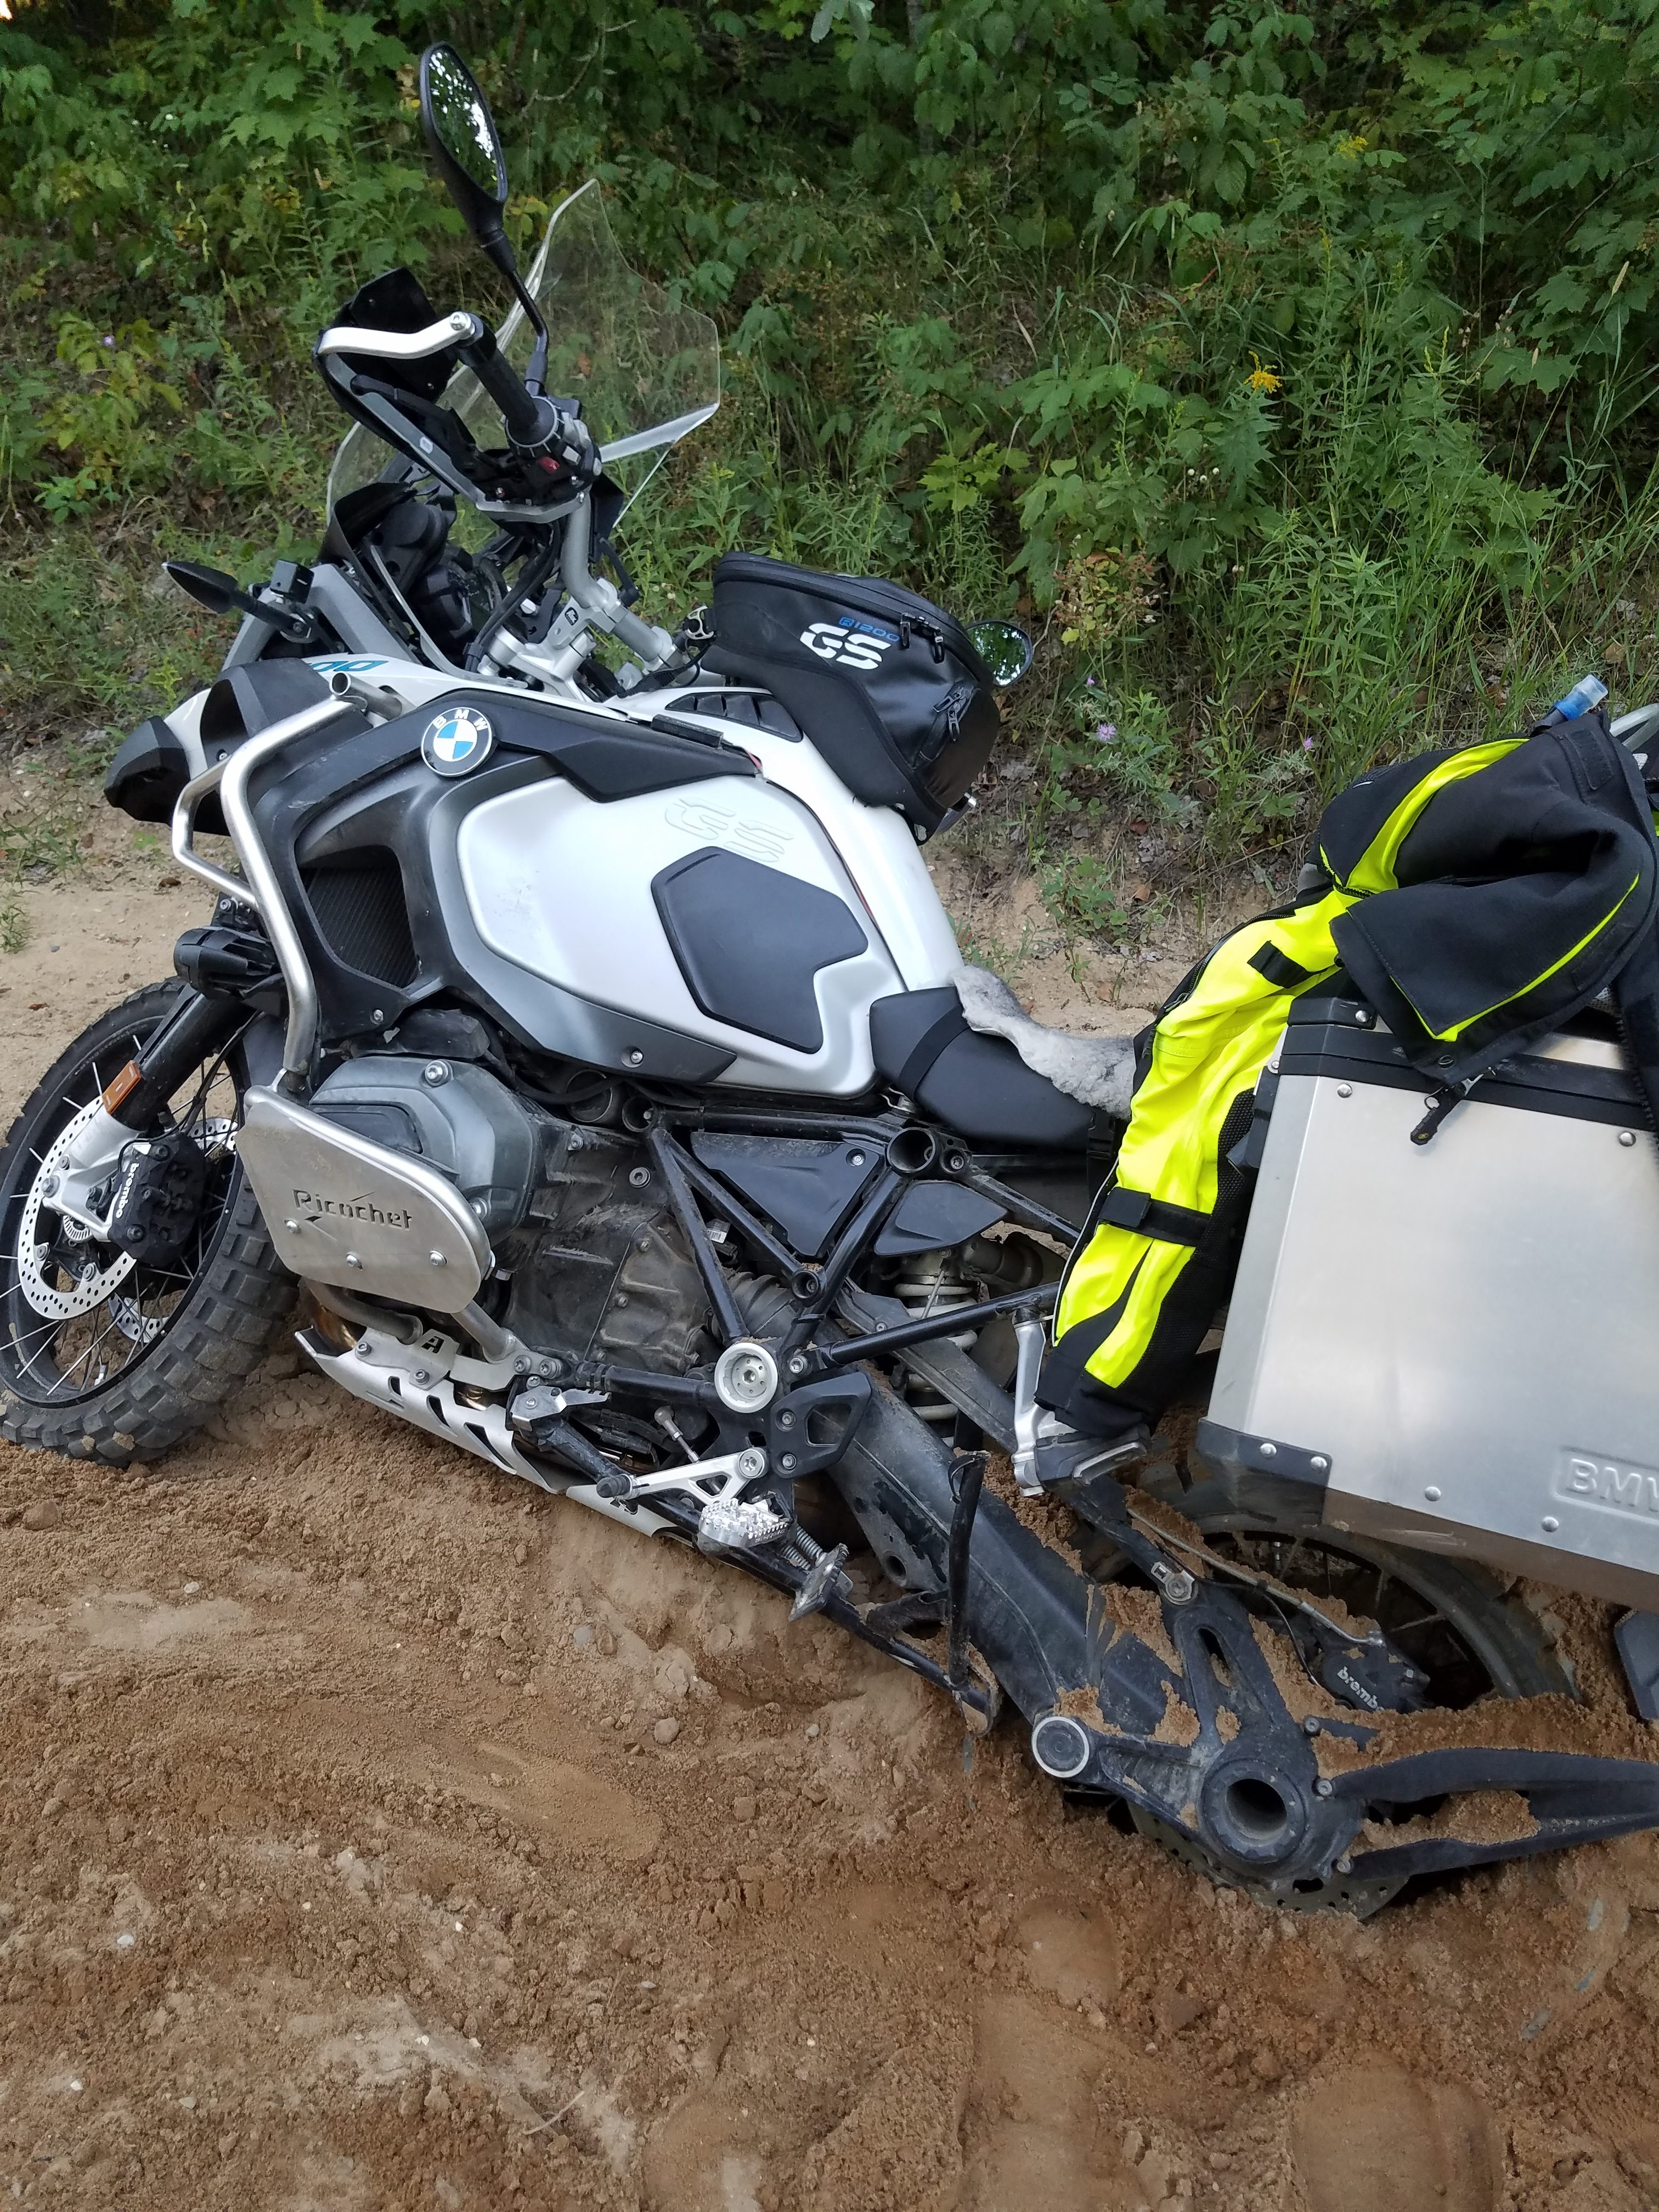
The valve cover on the 1200gs is relatively thin, and even with crash bars installed, there is still that chance of puncturing on during a fall. Which of course leads to your bike spewing its oil out on the trail.
Not a big problem if your adventure takes you no further than Starbucks, but I often find myself off the road and a good distance from the local Starbucks.
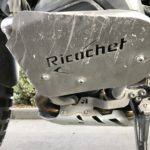
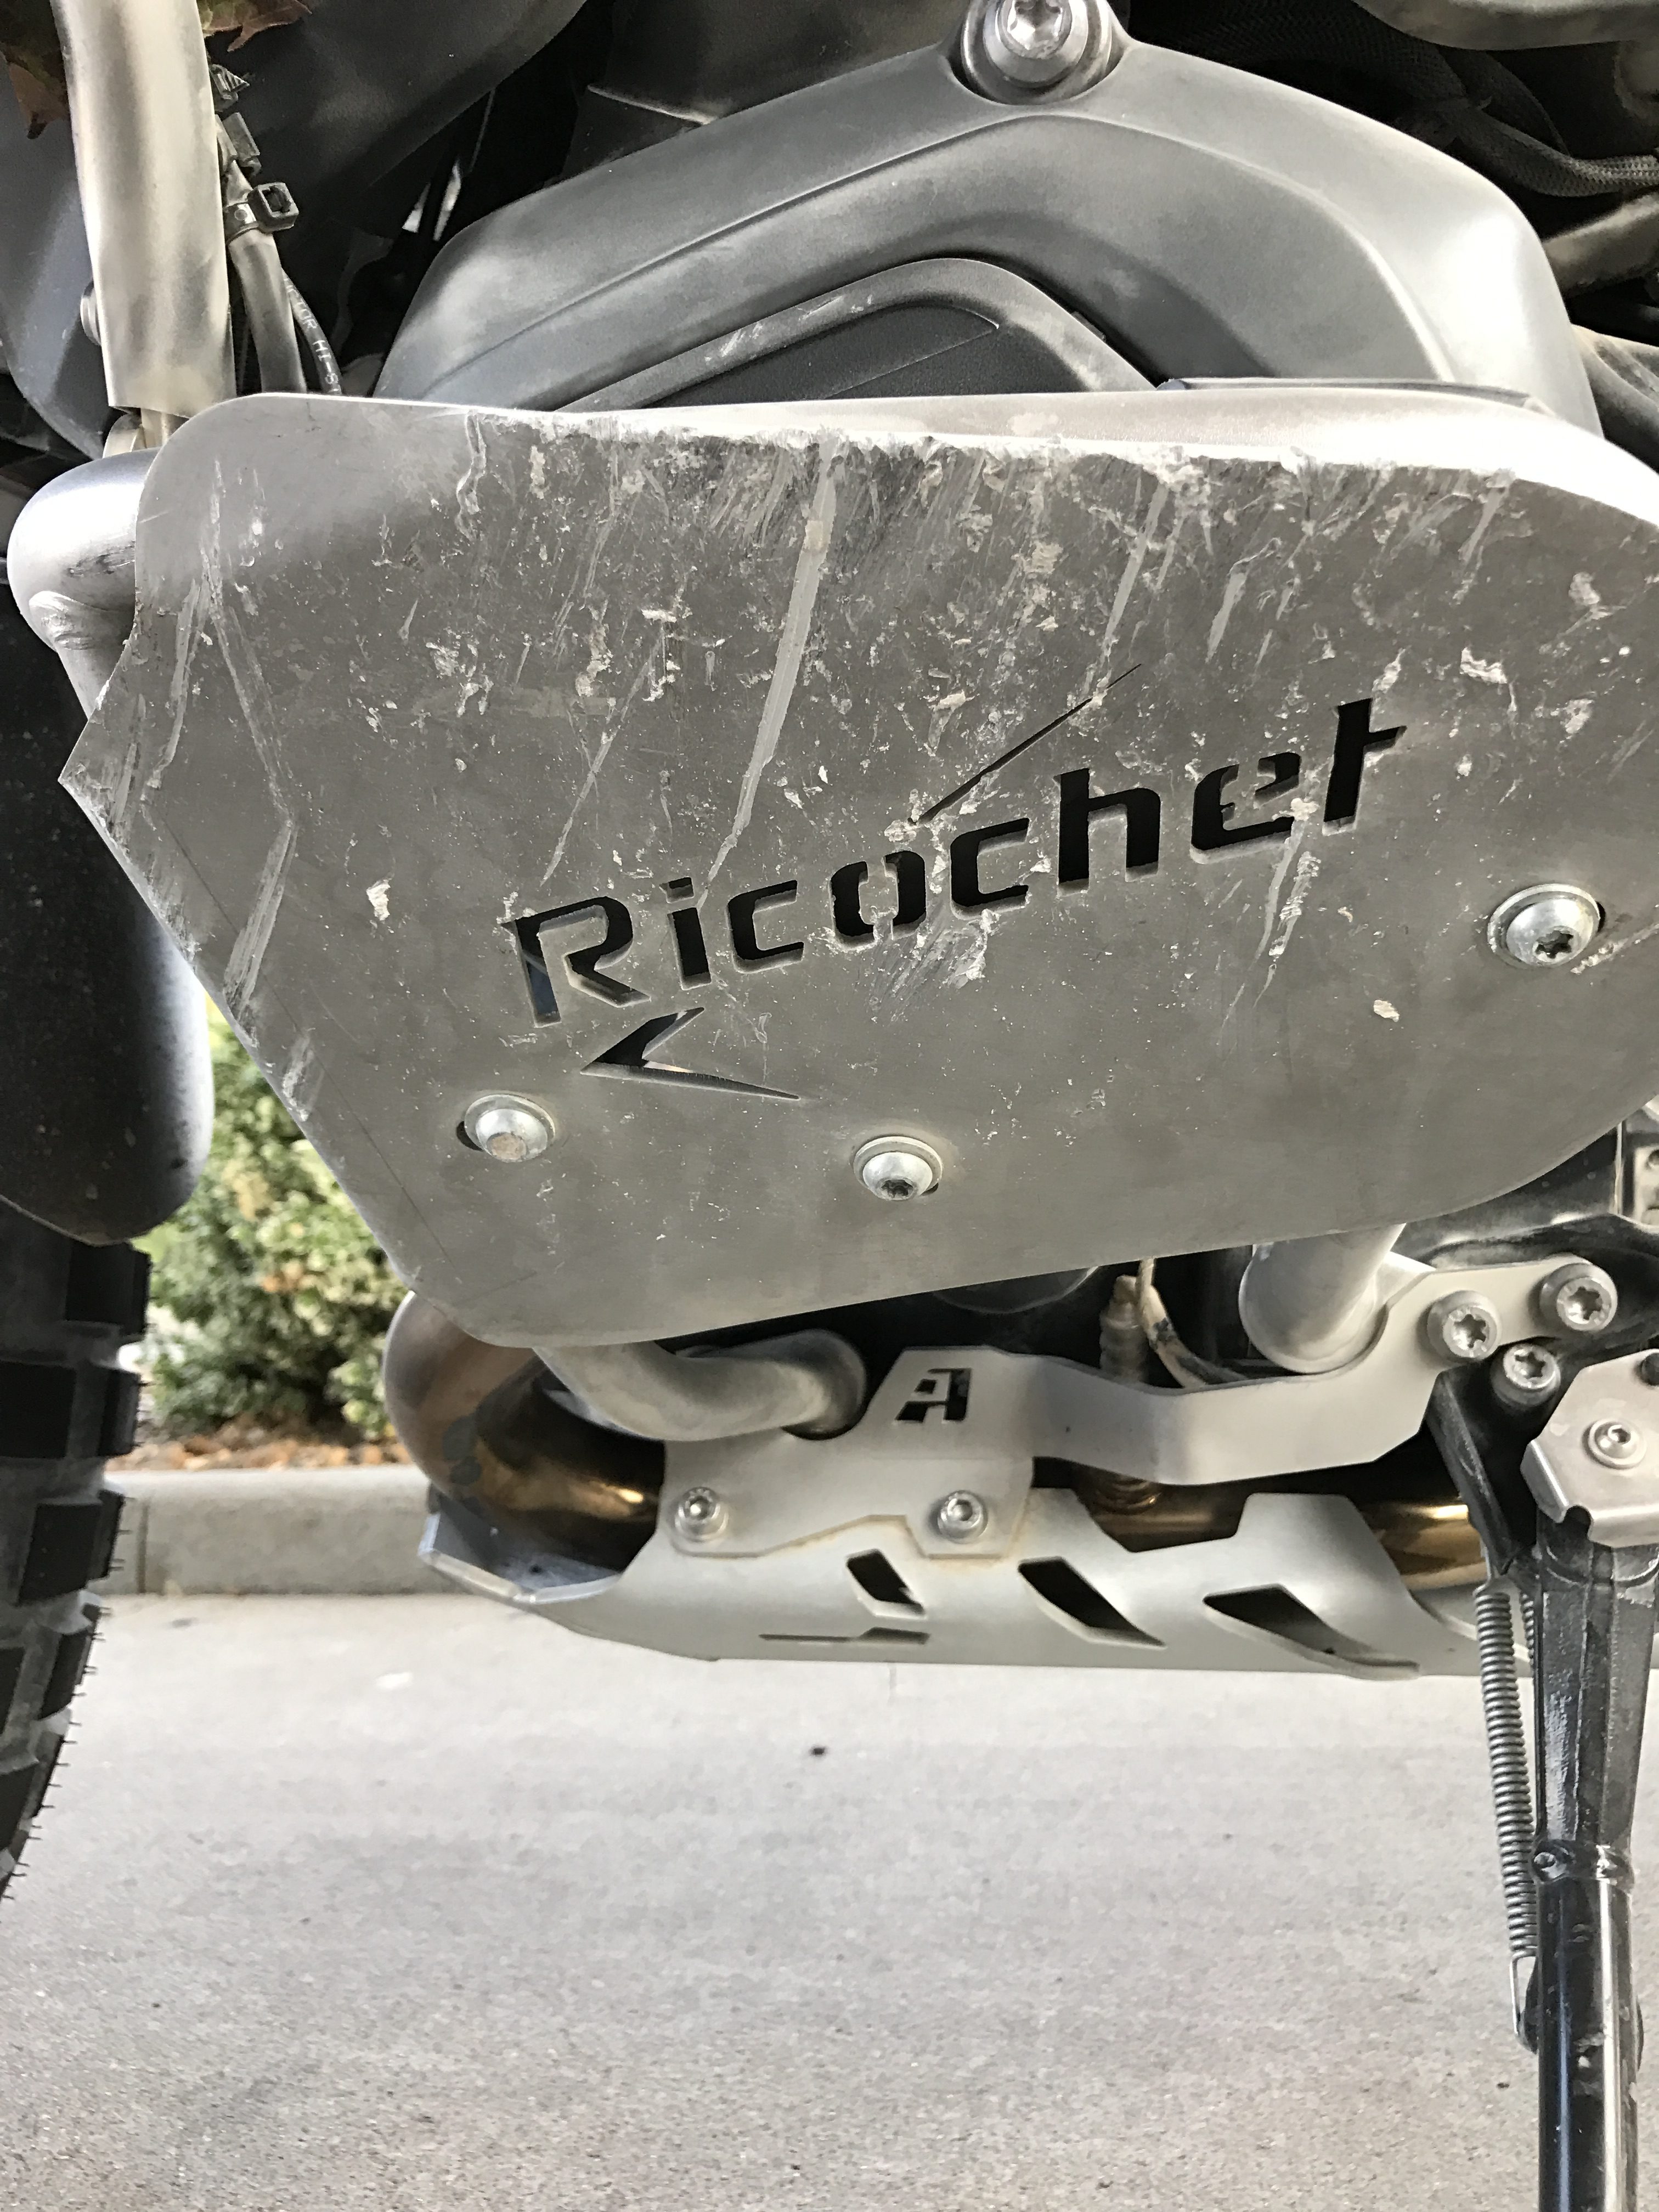
The guards themselves are pretty simple, and are relatively utilitarian in styling. Definitely not a “bling” part. They mount to the standard GS Adventure crash bars using three, very simple, yet functional, U-shaped brackets.
I’ve had the opportunity of testing these several times, including a very loose gravel road which would have absolutely chewed through any exposed valve cover. The second picture shows the result of that event, and the result? Crash bars were fine, and more importantly, not so much as a single scuff to the valve cover.
Priced at $89, much cheaper than the other inferior items out the. Can find them at: http://ricochet-off-road.myshopify.com/collections/bmw-skid-plates/products/copy-of-bmw-r1200-gs-adventure-aluminum-skid-plate
October 31st, 2016 in
Moto |
No Comments
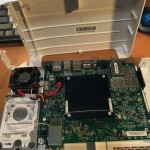
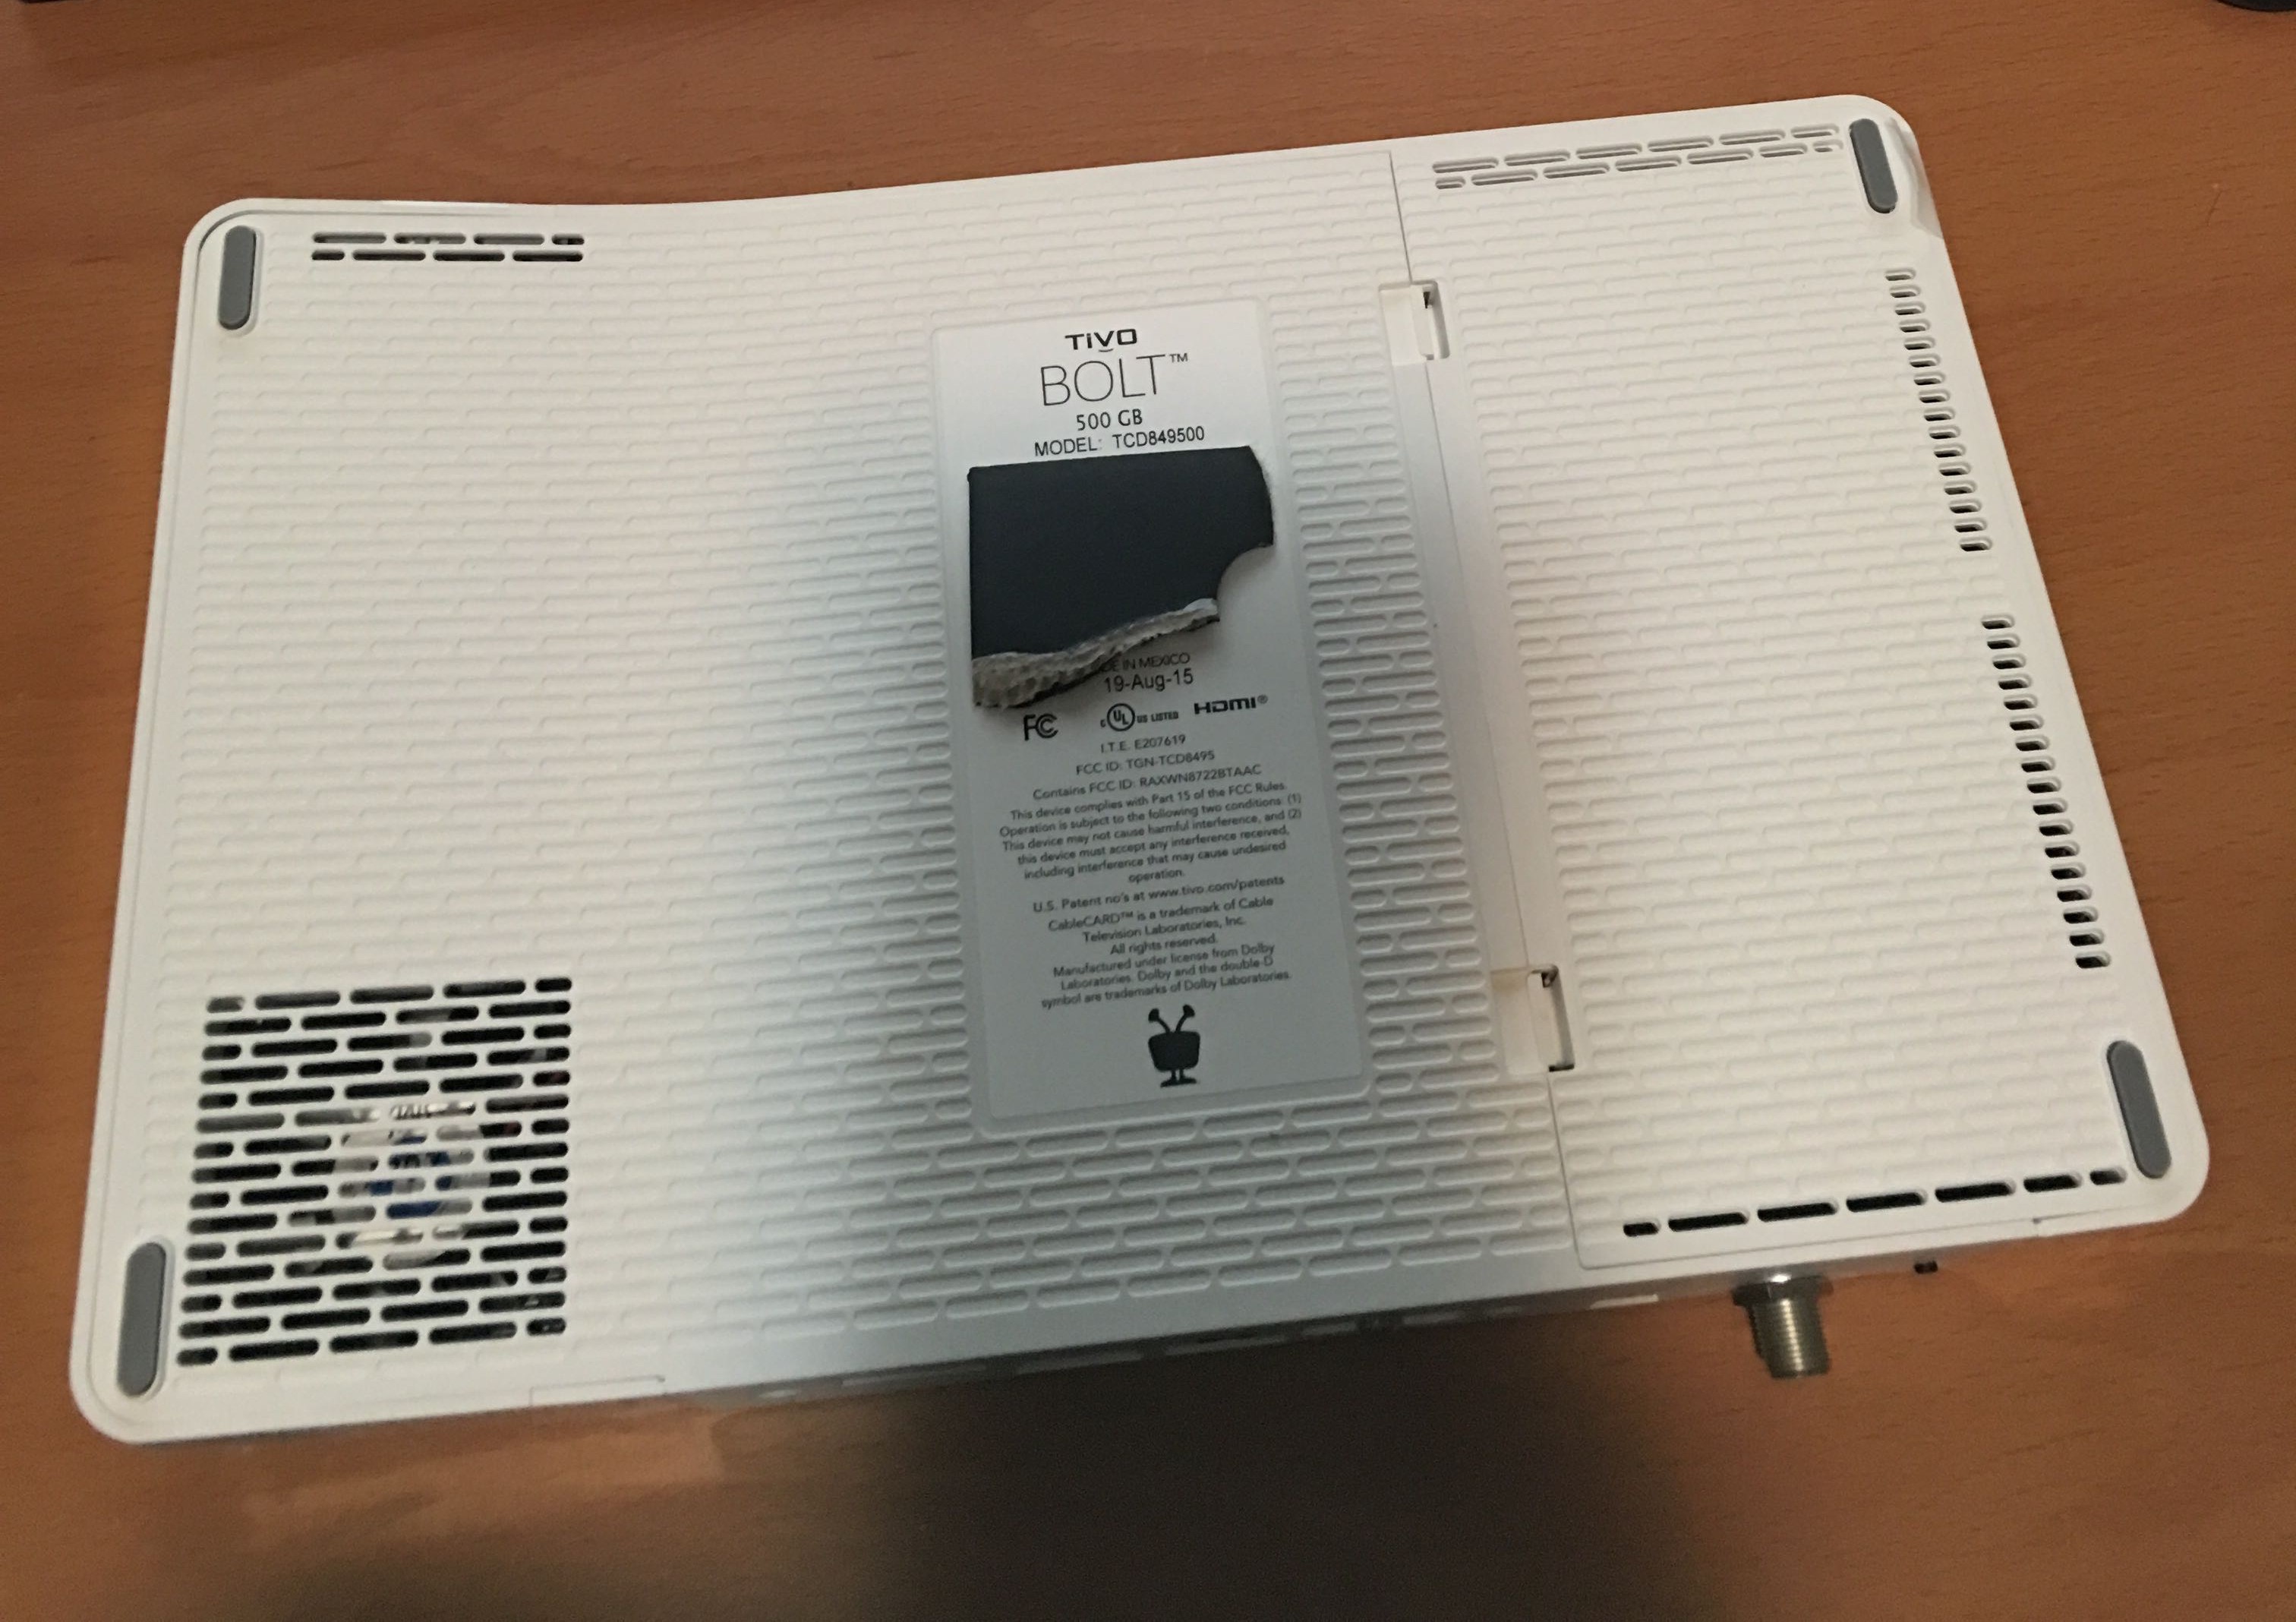
TiVo Bolt (The silly looking, bent TiVo) Hard Disk Upgrade.
I purchased the cheapest model having only a meager 500GB hard disk. The immediate plan is to upgrade to a 2TB hard disk, for which I have ordered a WD 2TB Green 2.5inch SATA drive to replace the internal disk. Initial reports from the Tivo Community Forums seem to confirm that it is the simple matter of swapping the hard disks in the same manner as the previous TiVo Roamio boxes.
I did have some thoughts in regard to adding a full size 3.5inch disk using a powered enclosure , and extending the internal SATA port. But, I am really trying to keep the equipment connected to my TV relatively simple, which of course, this cheesy look white box that doesn’t sit flat certainly does not help. But, if it performs… so be it. Maybe a complete TiVo Bolt internals to a retired TiVo HD case?
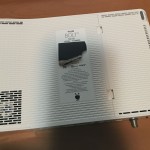
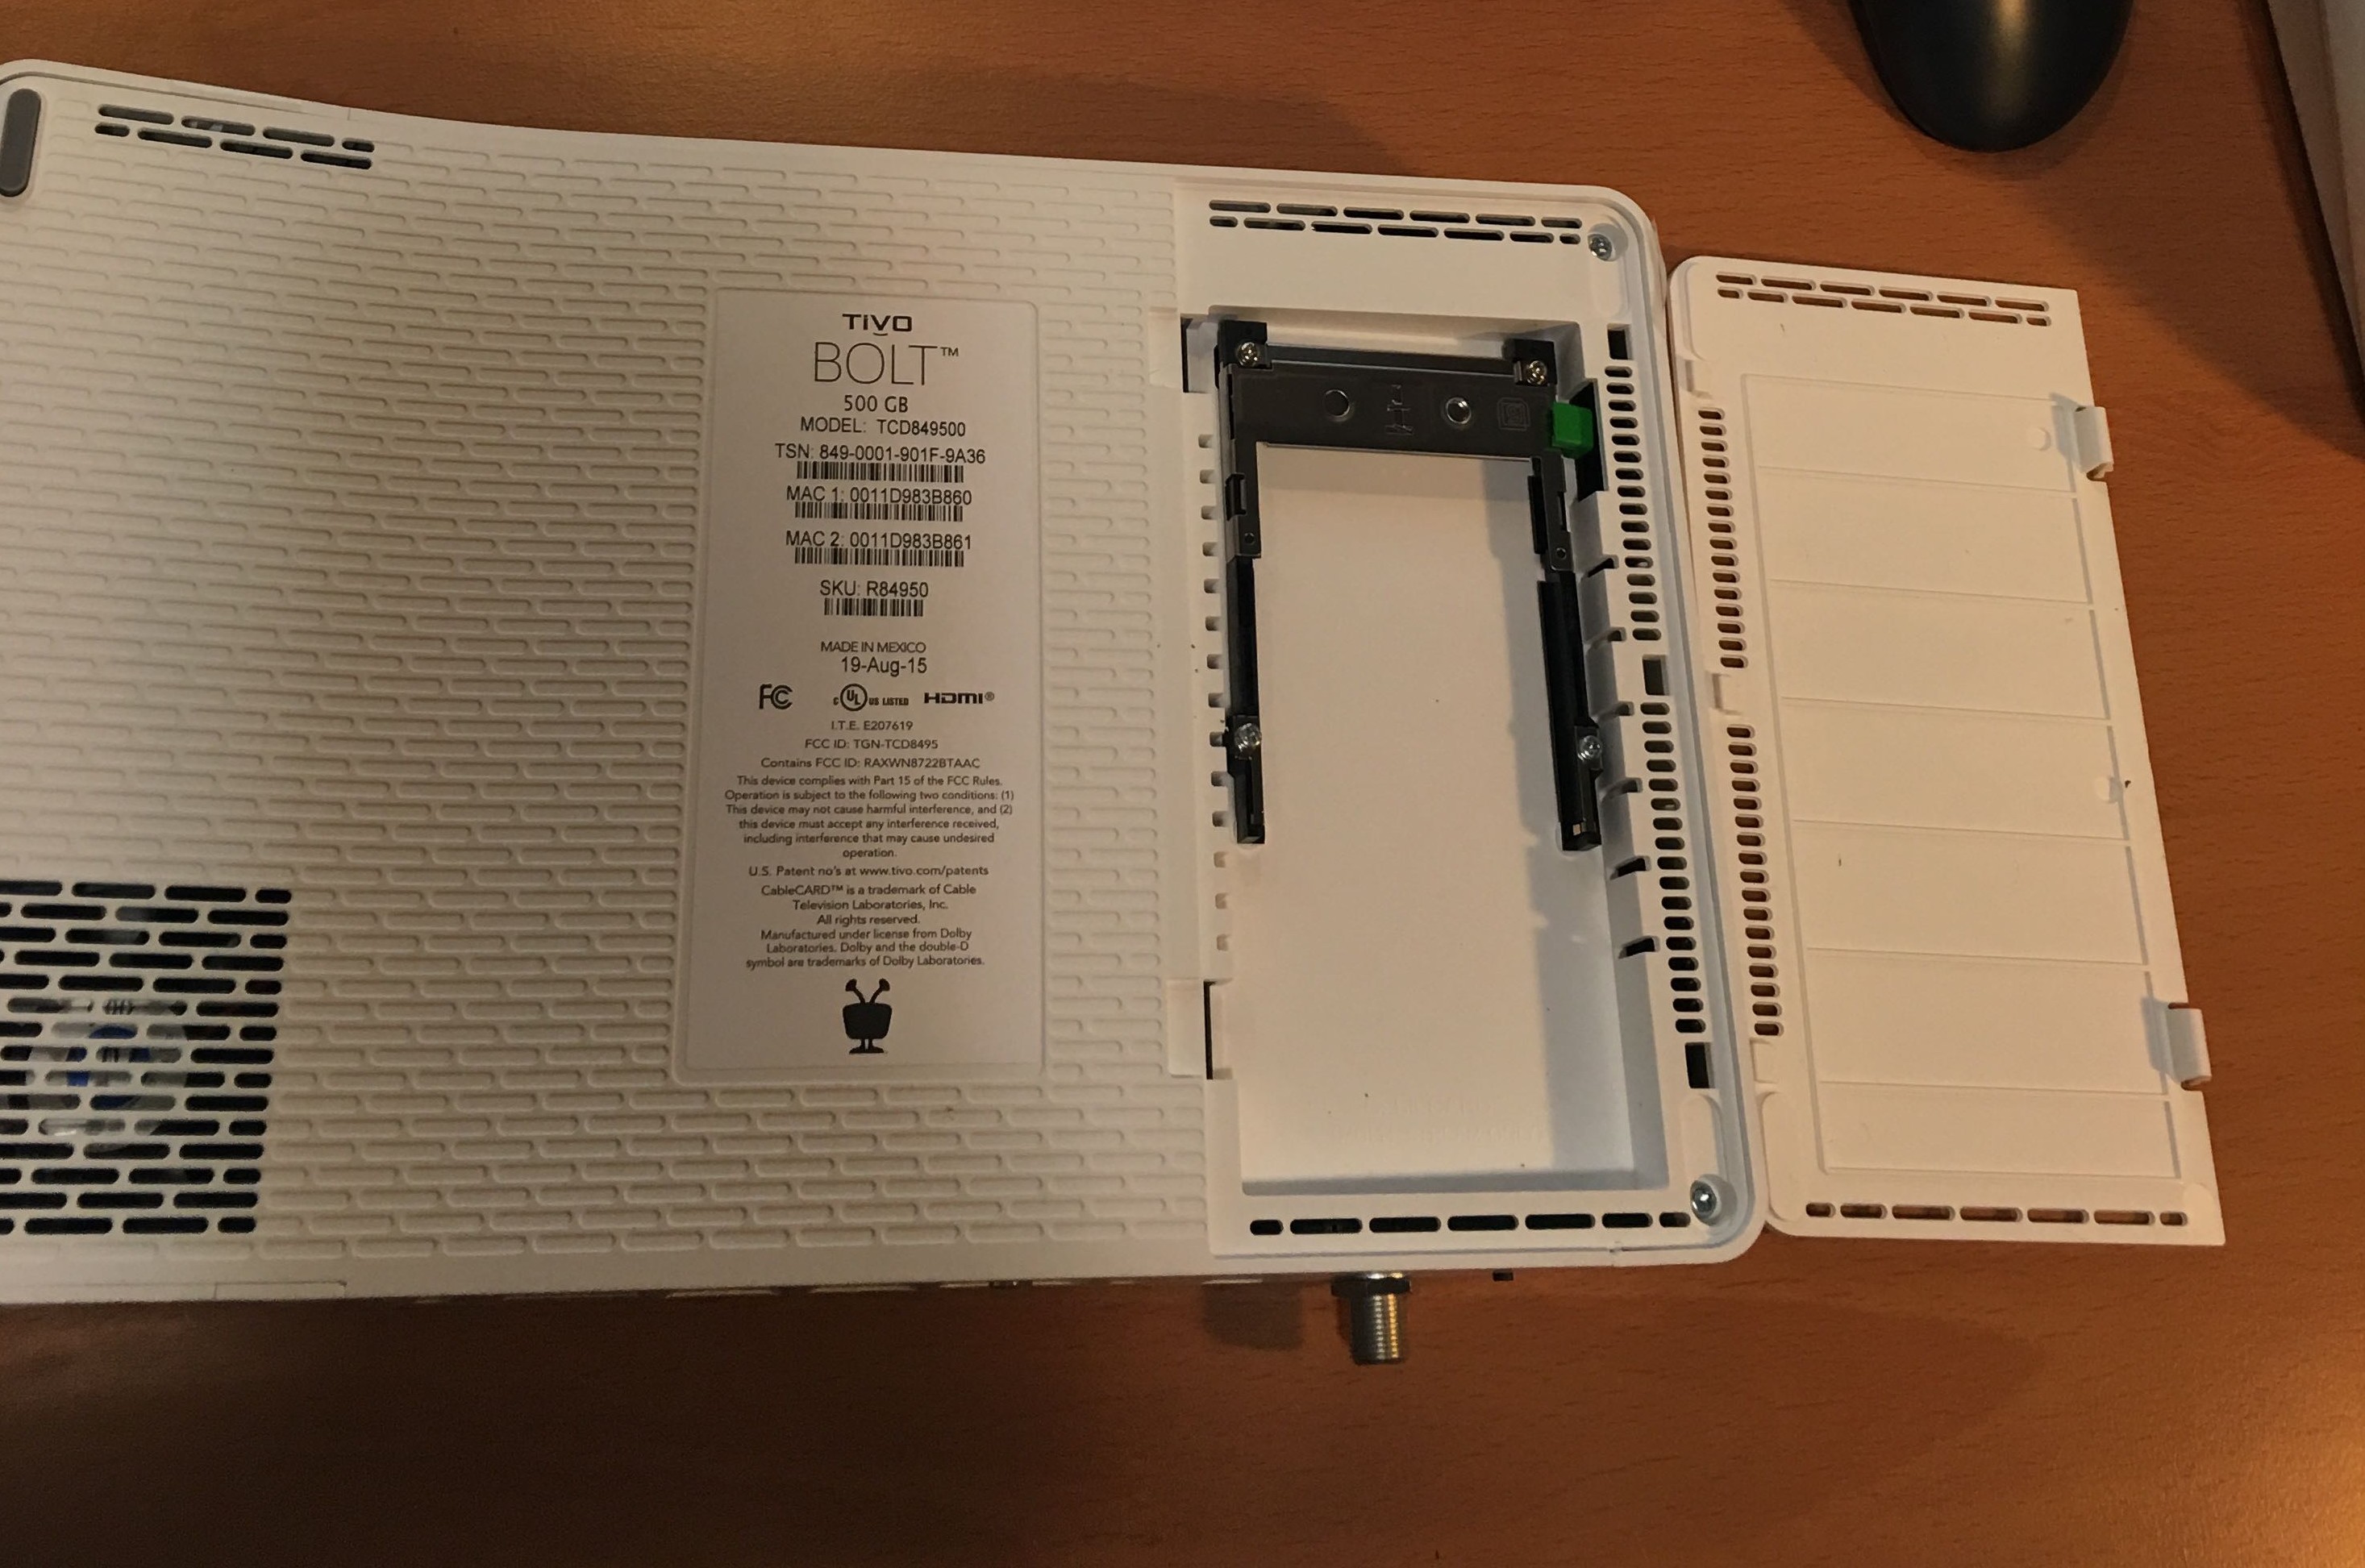
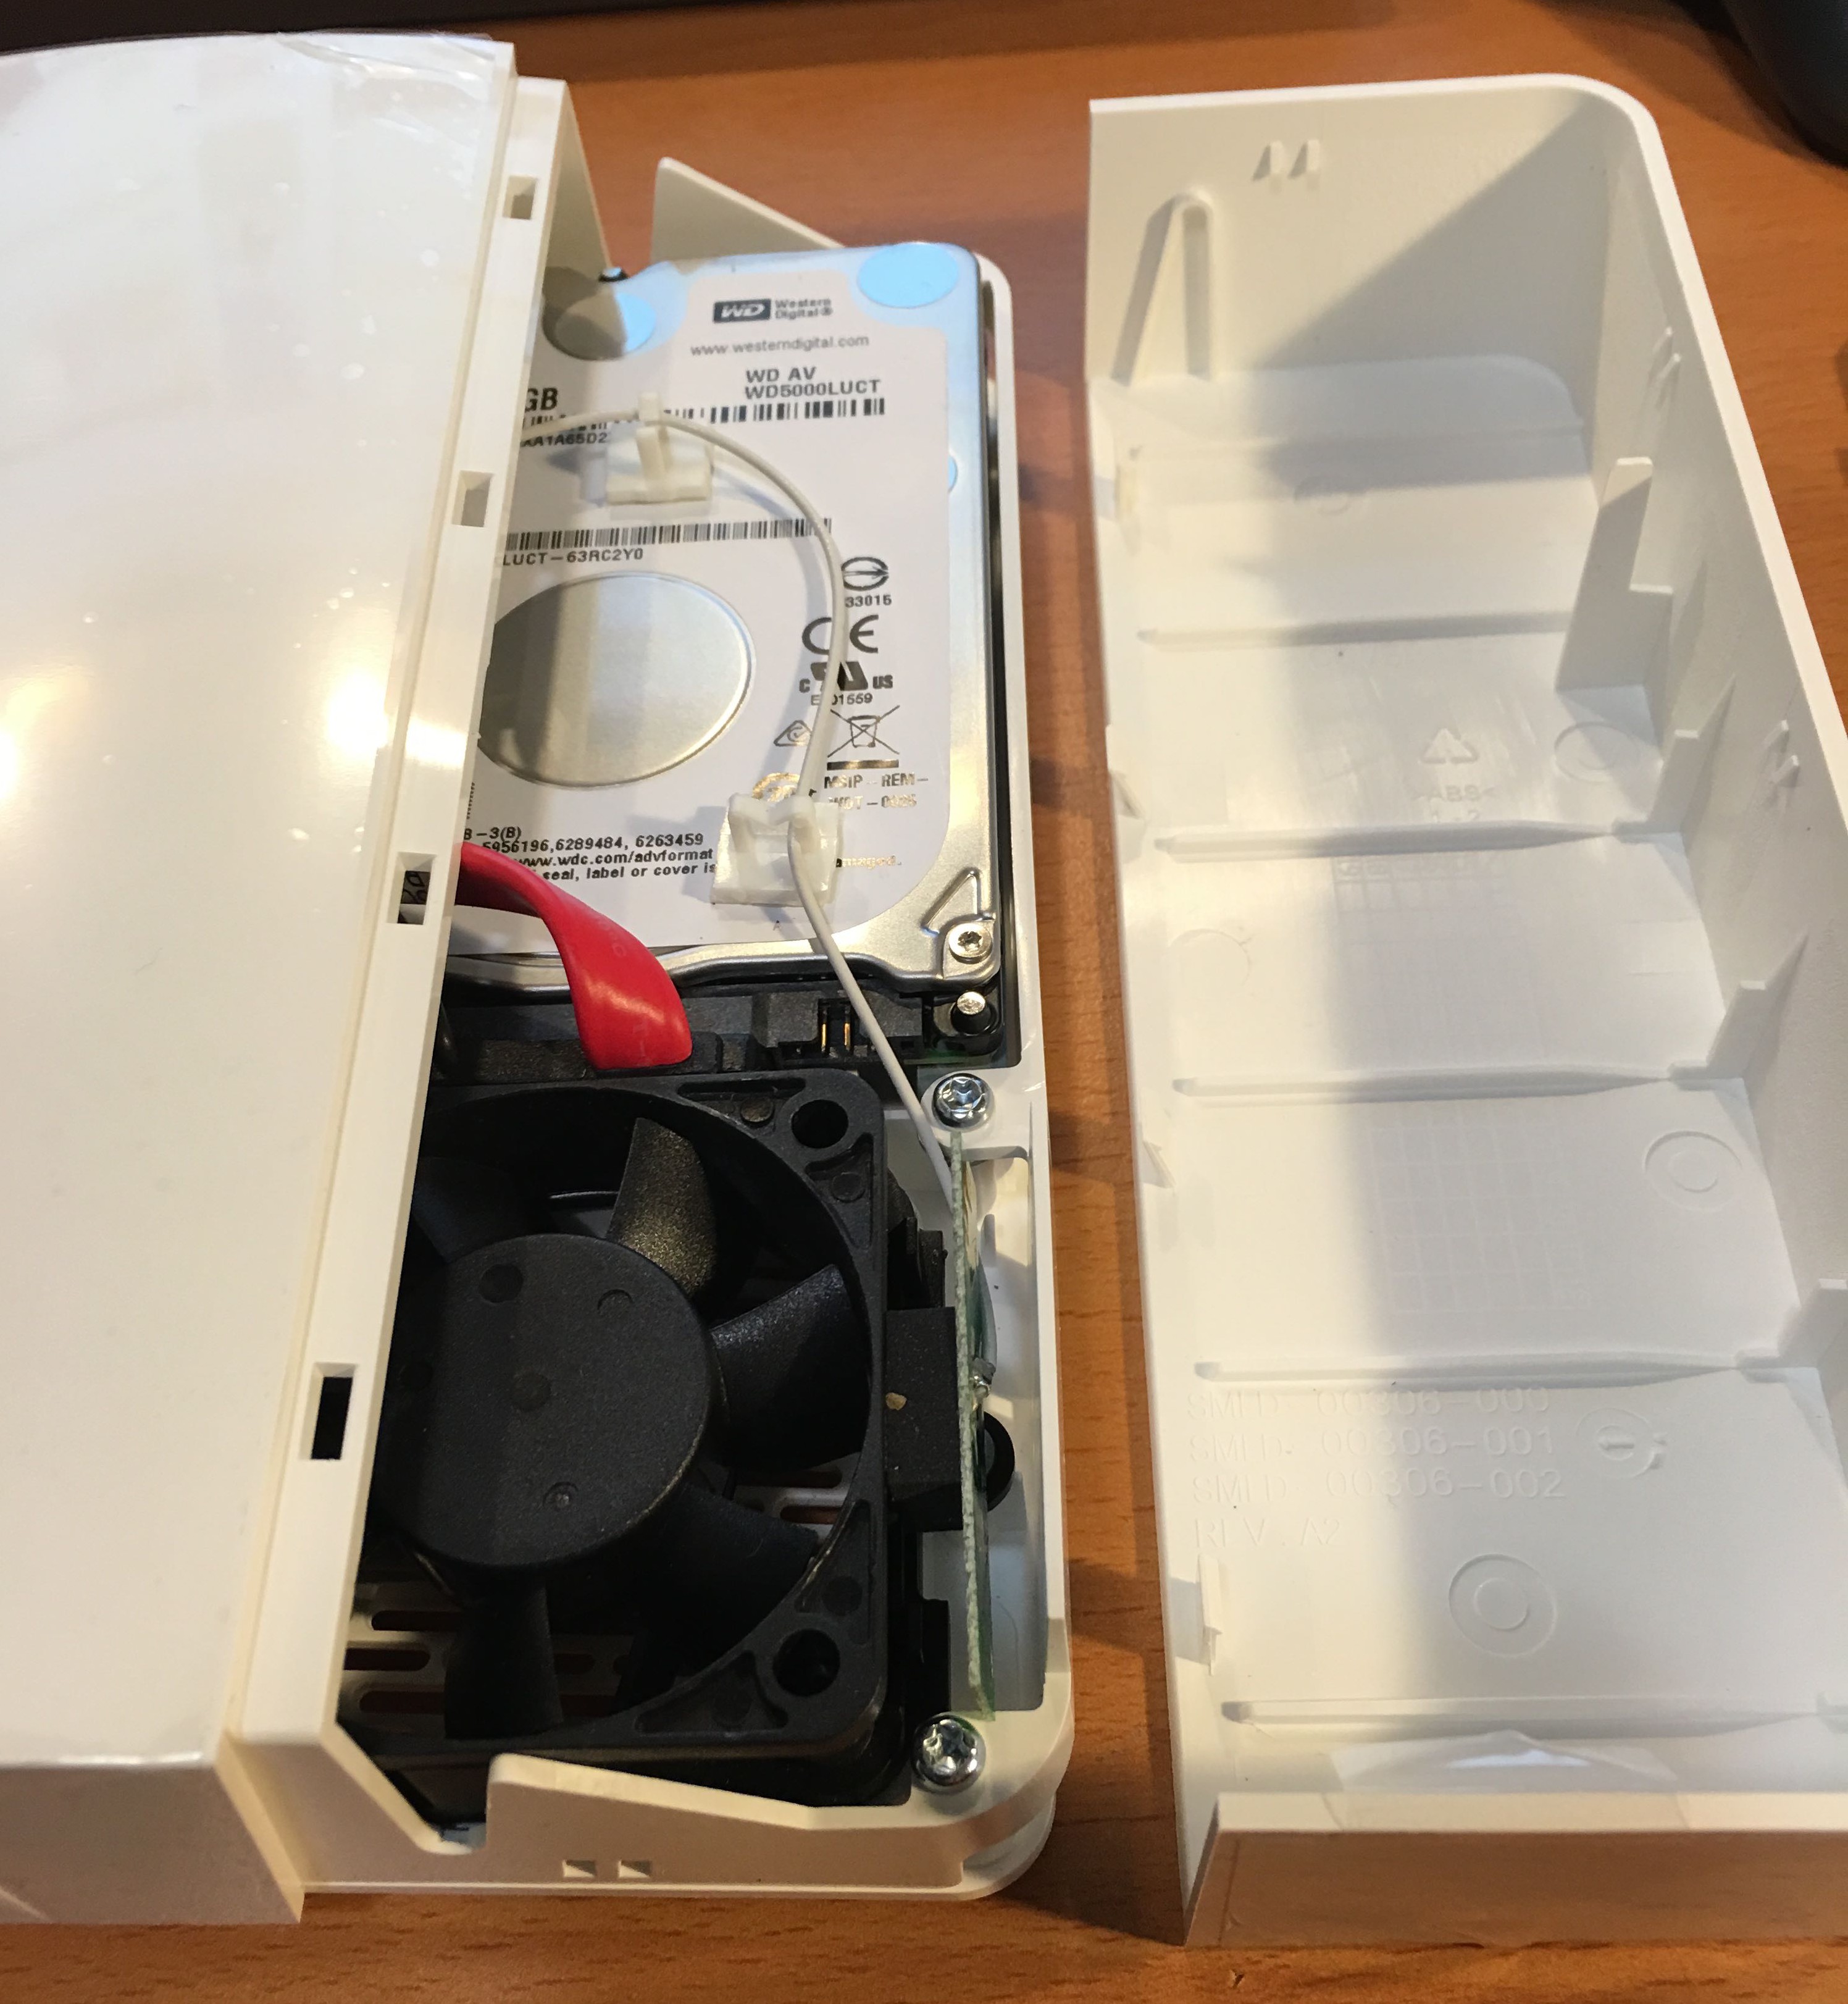
- First step, open the crooked little box, is to open the cable card tray.
- There are two Torx screws along the edge, and another by the HDMI port.
- After removing these screws, you can now open the shorter section of the bent case.
- There are three Torx screws along the edge that will need to be removed.
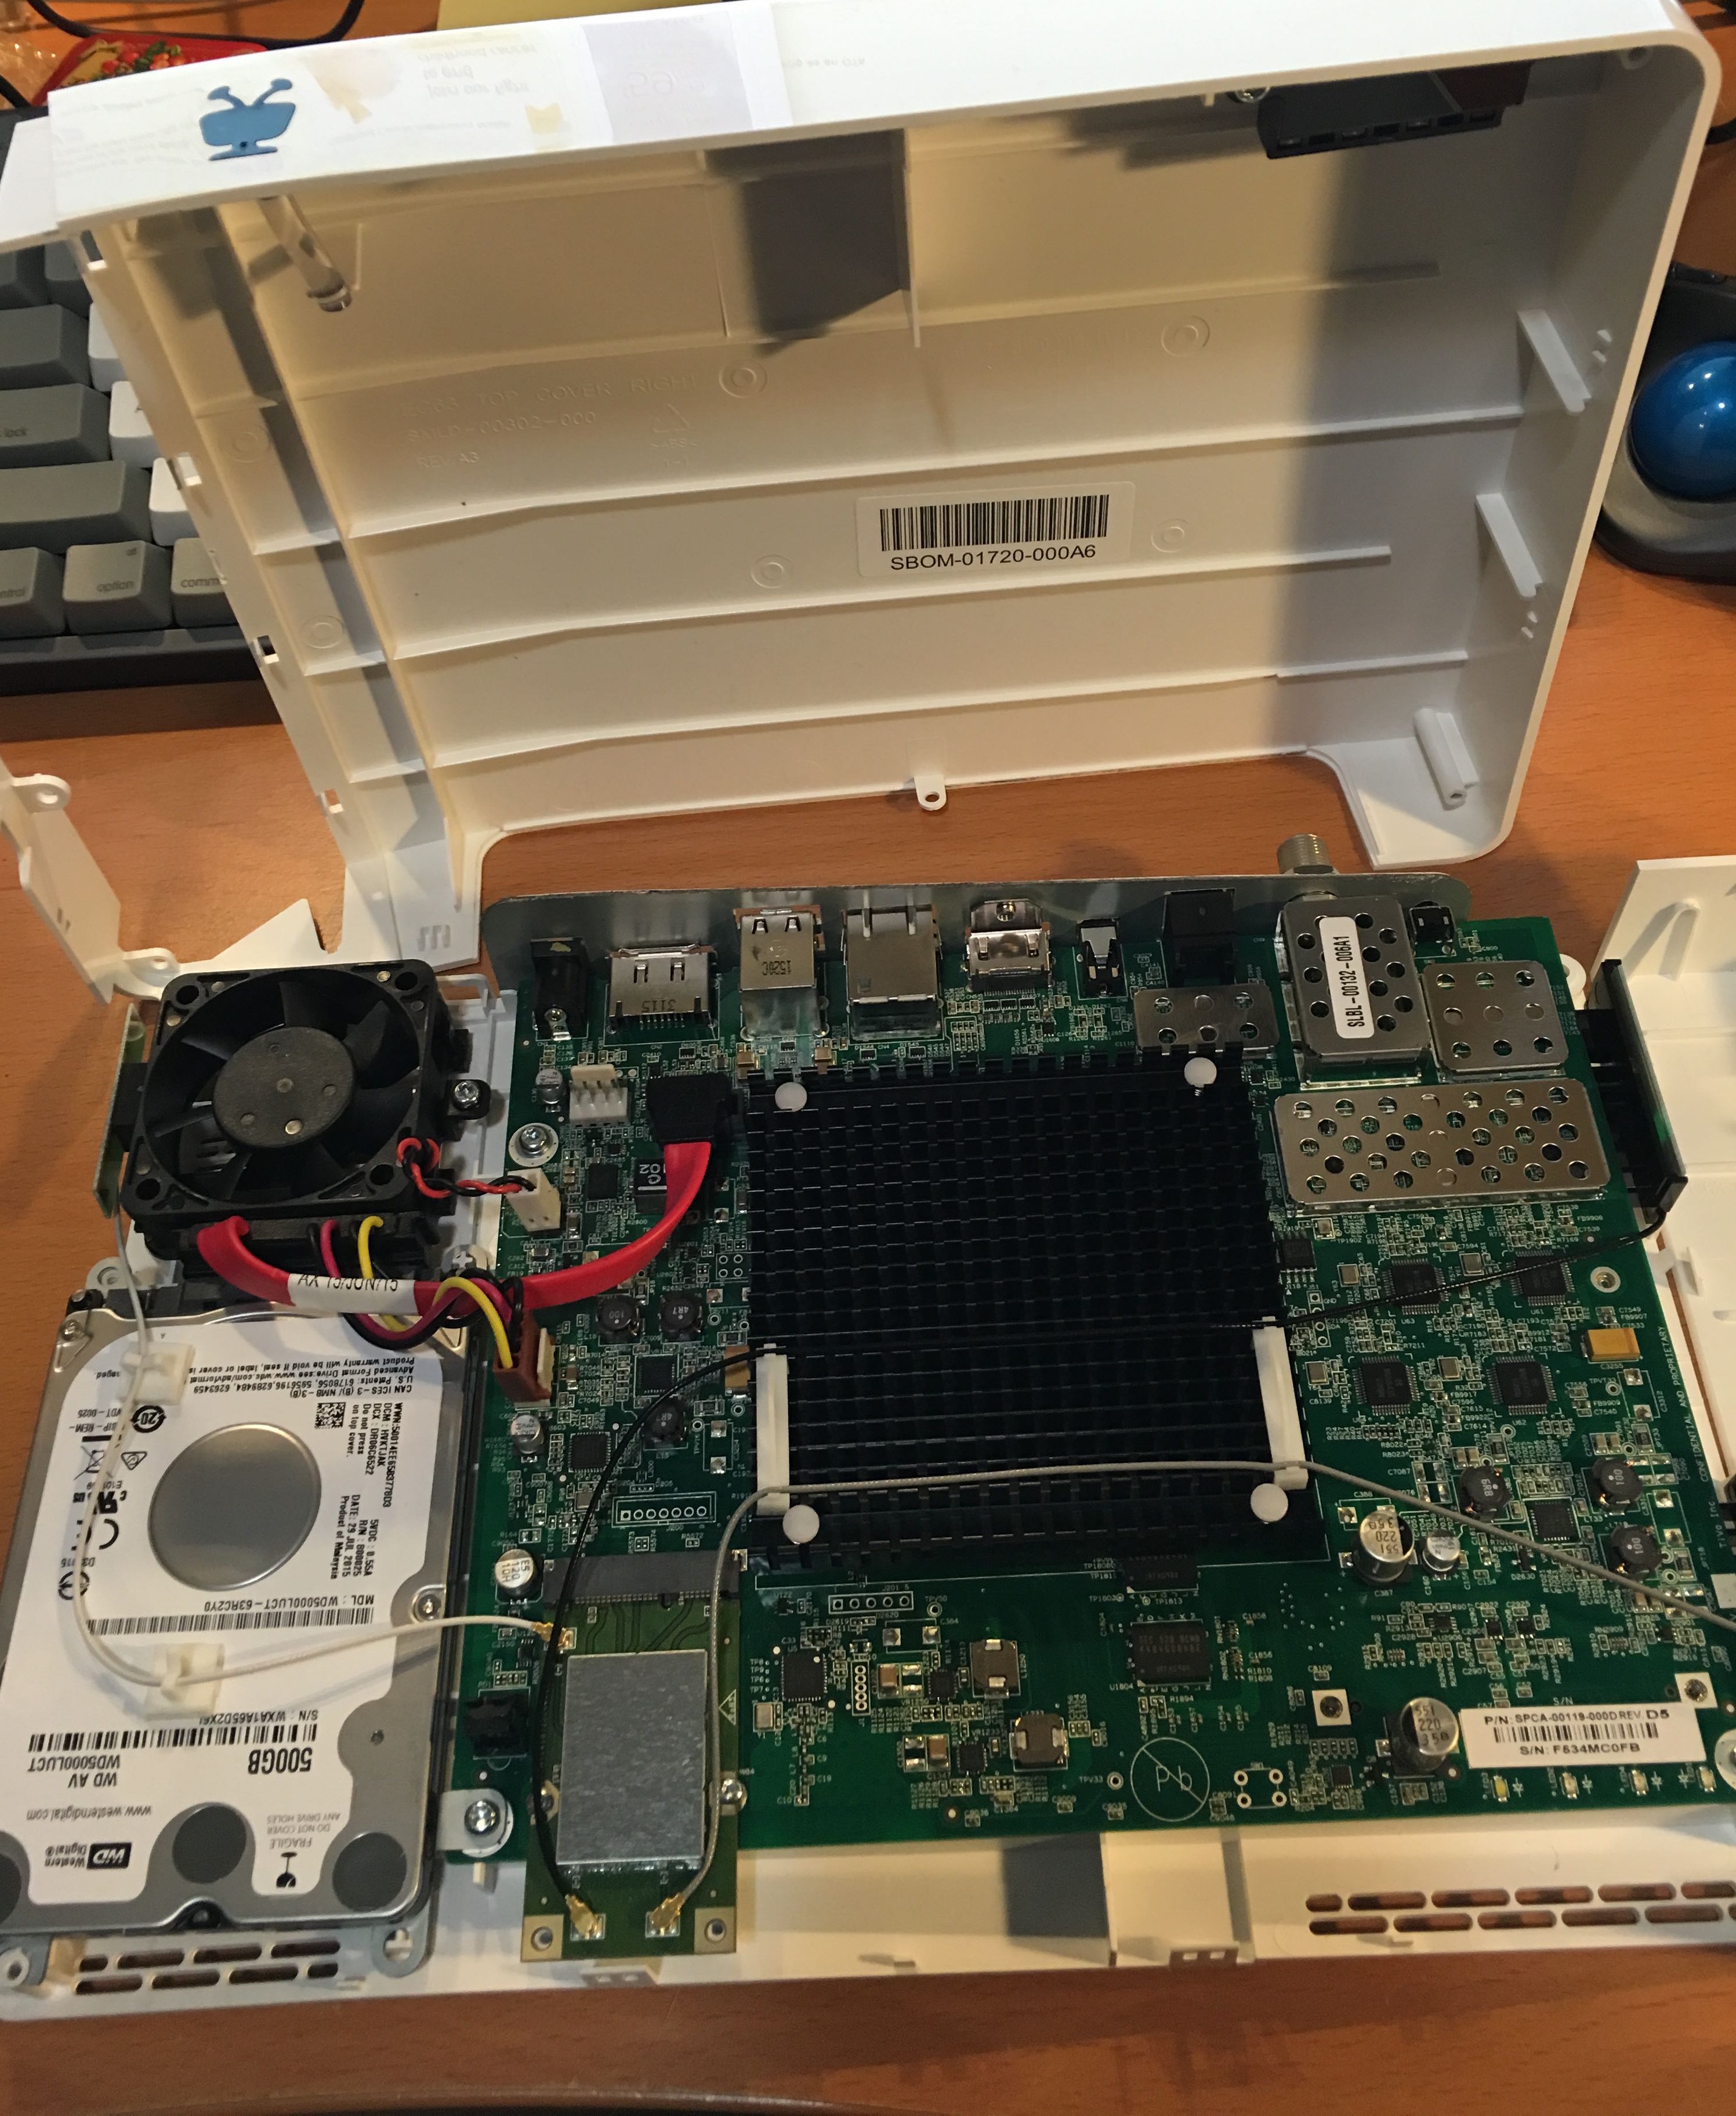
- After removing those three screws, you can remove the top lid entirely.
- The case snaps together, so just work your way around carefully and you might not break the thing.
- Then it’s just the matter of swapping out Hard Disks
- As far as height, should be good to use virtually any 9-15mm 2.5inch SATA disk.

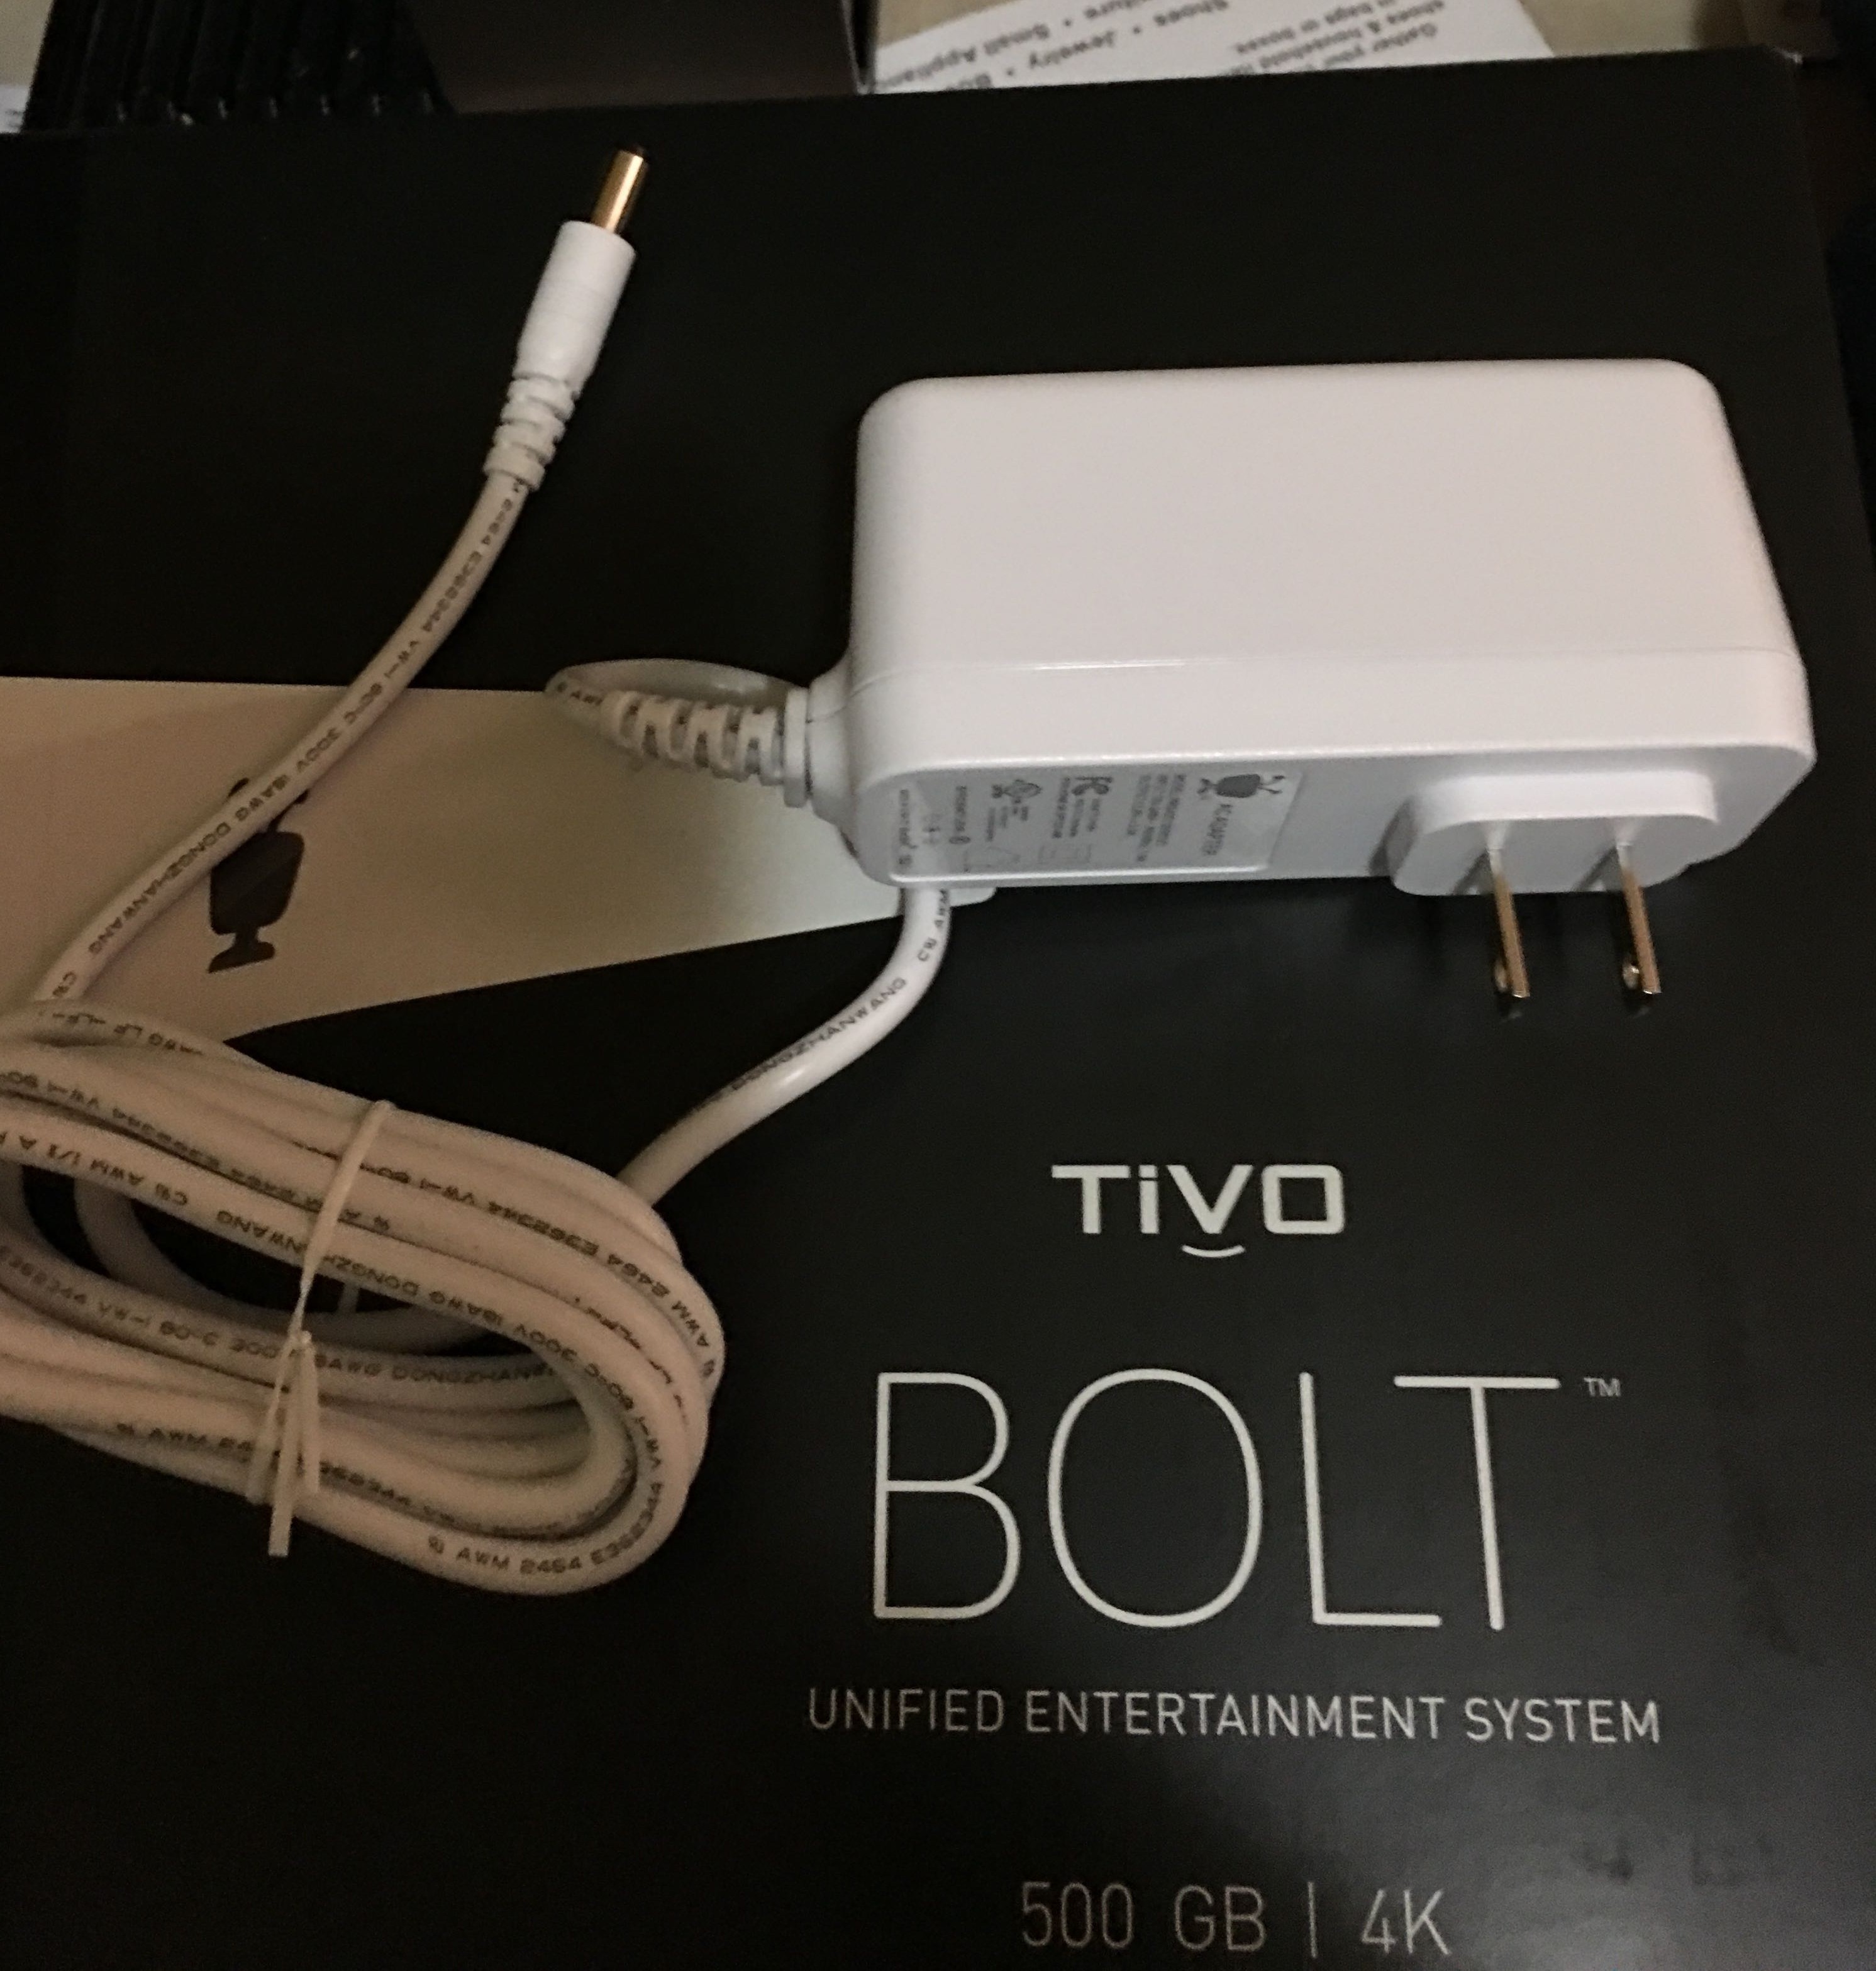
The tiny case makes for a big wall-wart of a power supply.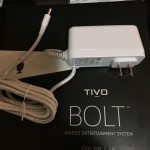
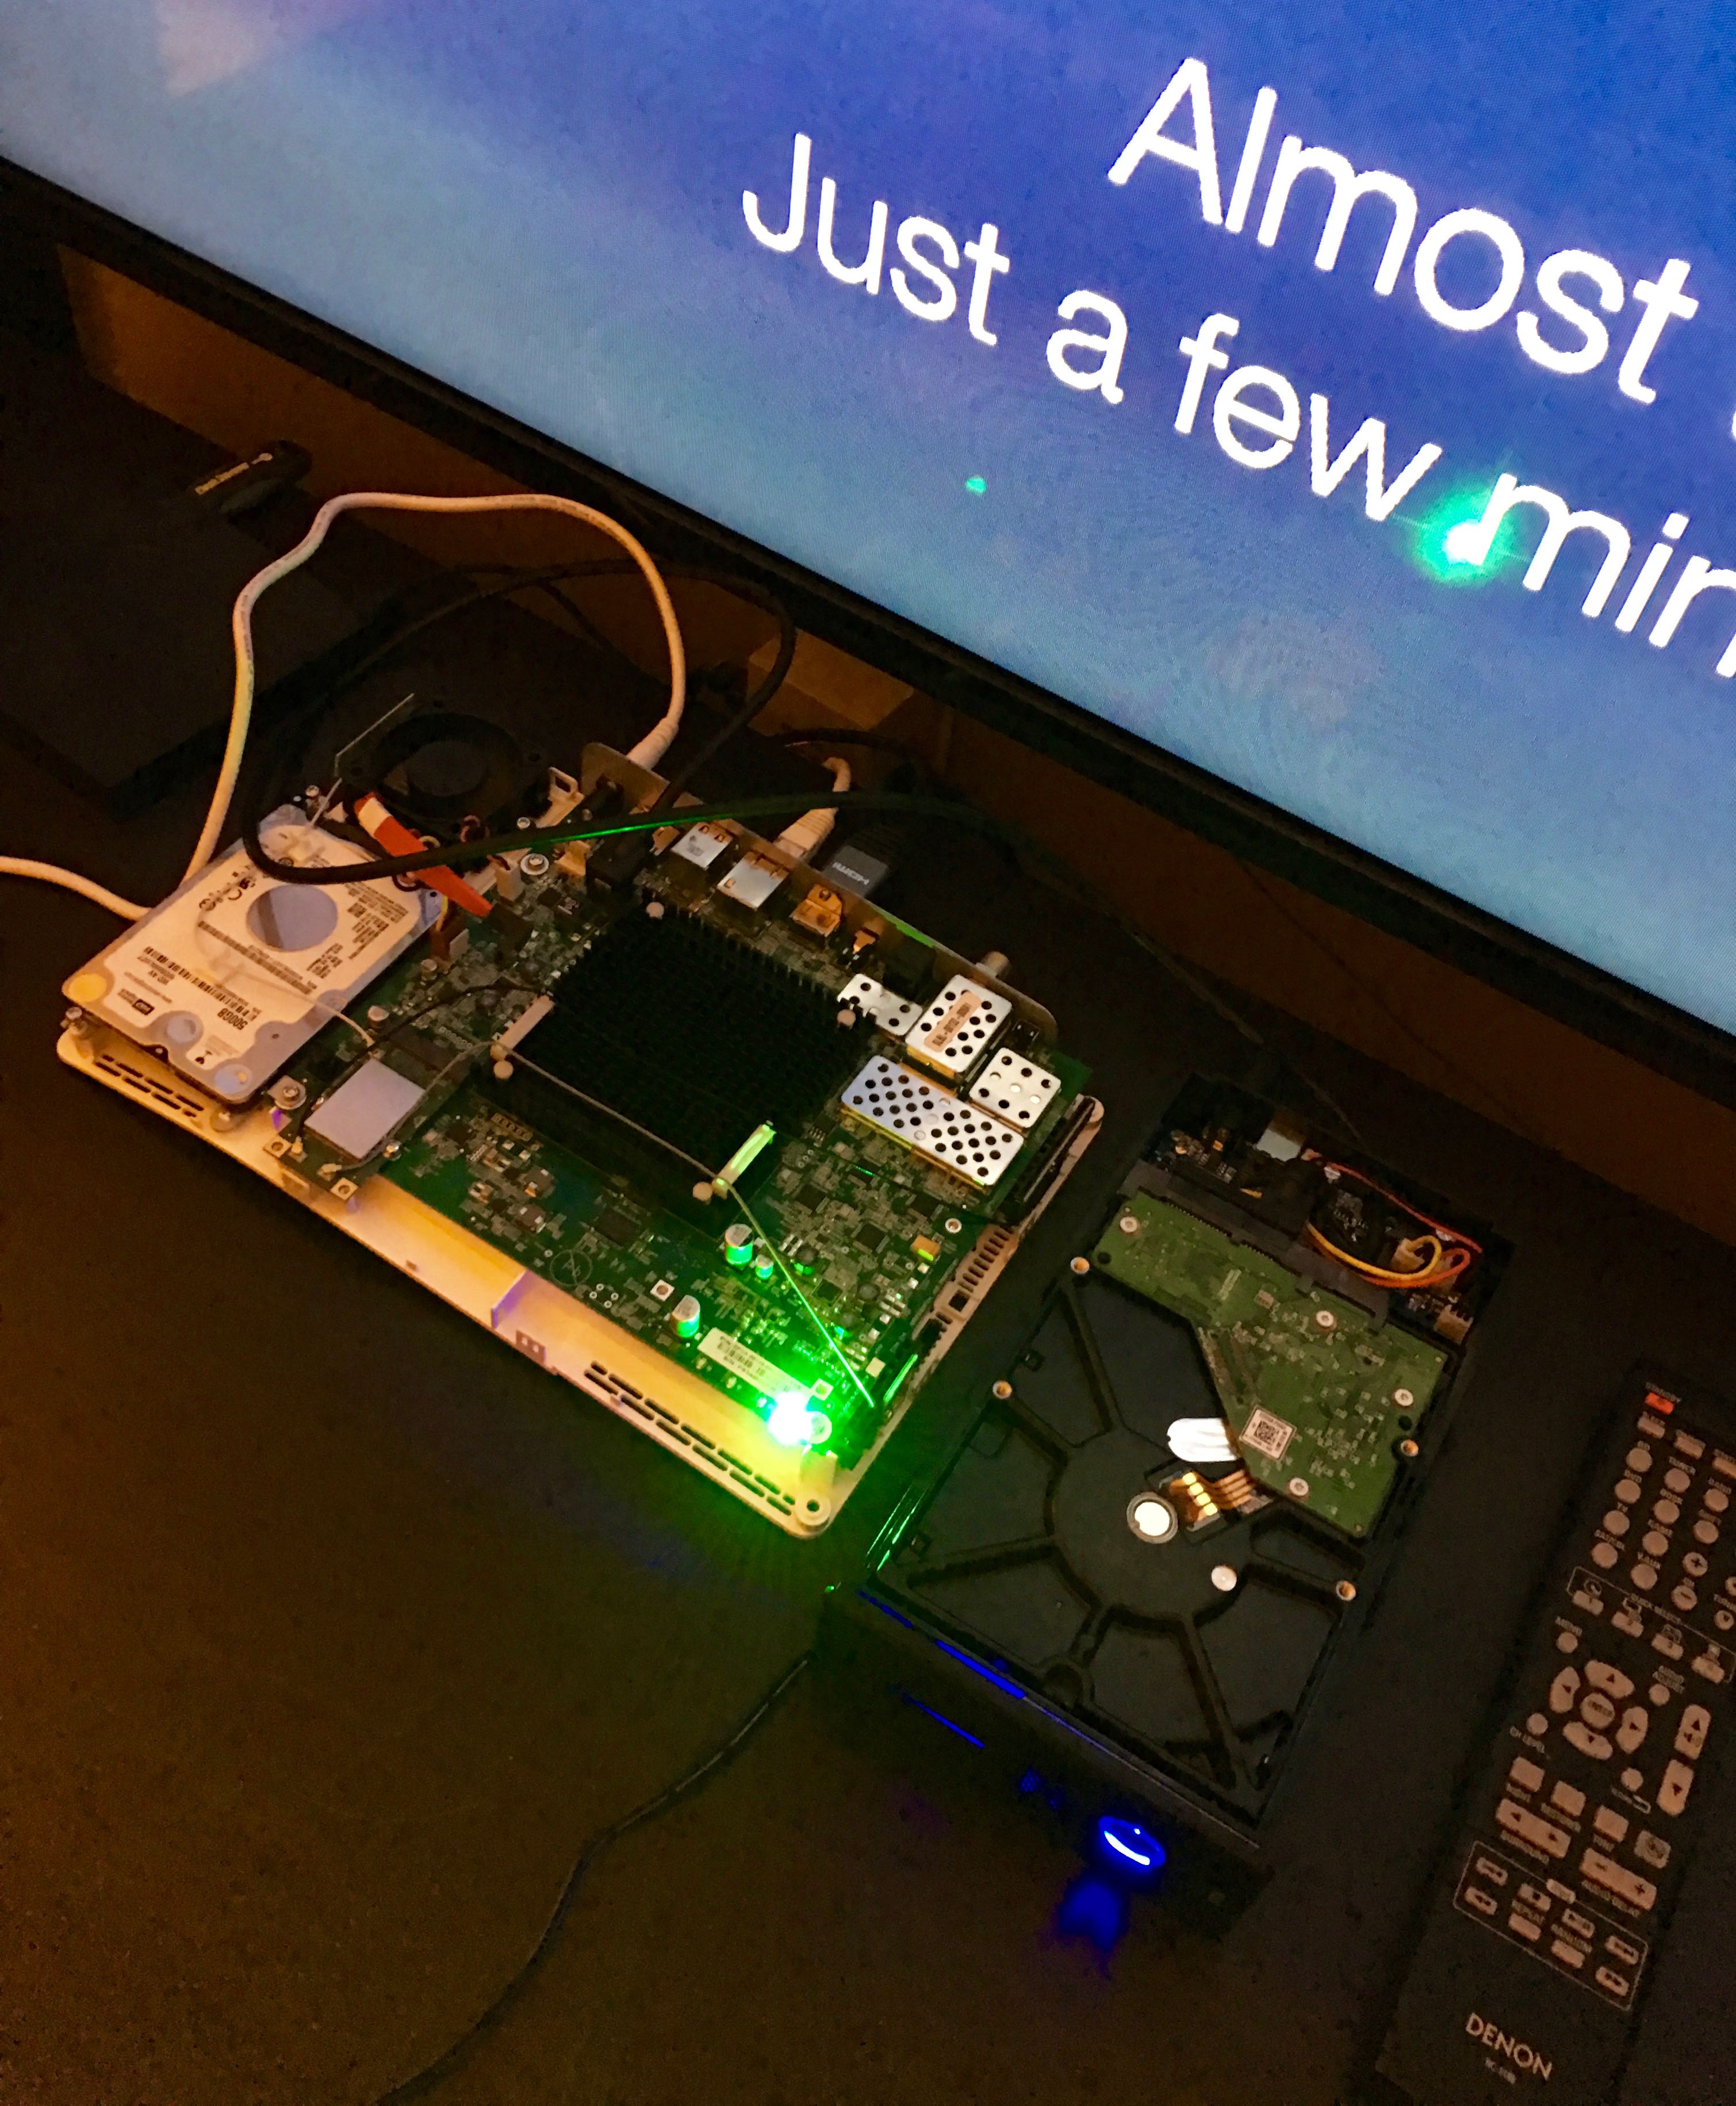
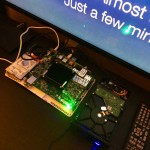 Update: Ended up deciding to run a SATA cable out of the case of the Bolt and into a 3.5inch enclosure which will provide the power for the Western Digital 3TB Red hard disk.
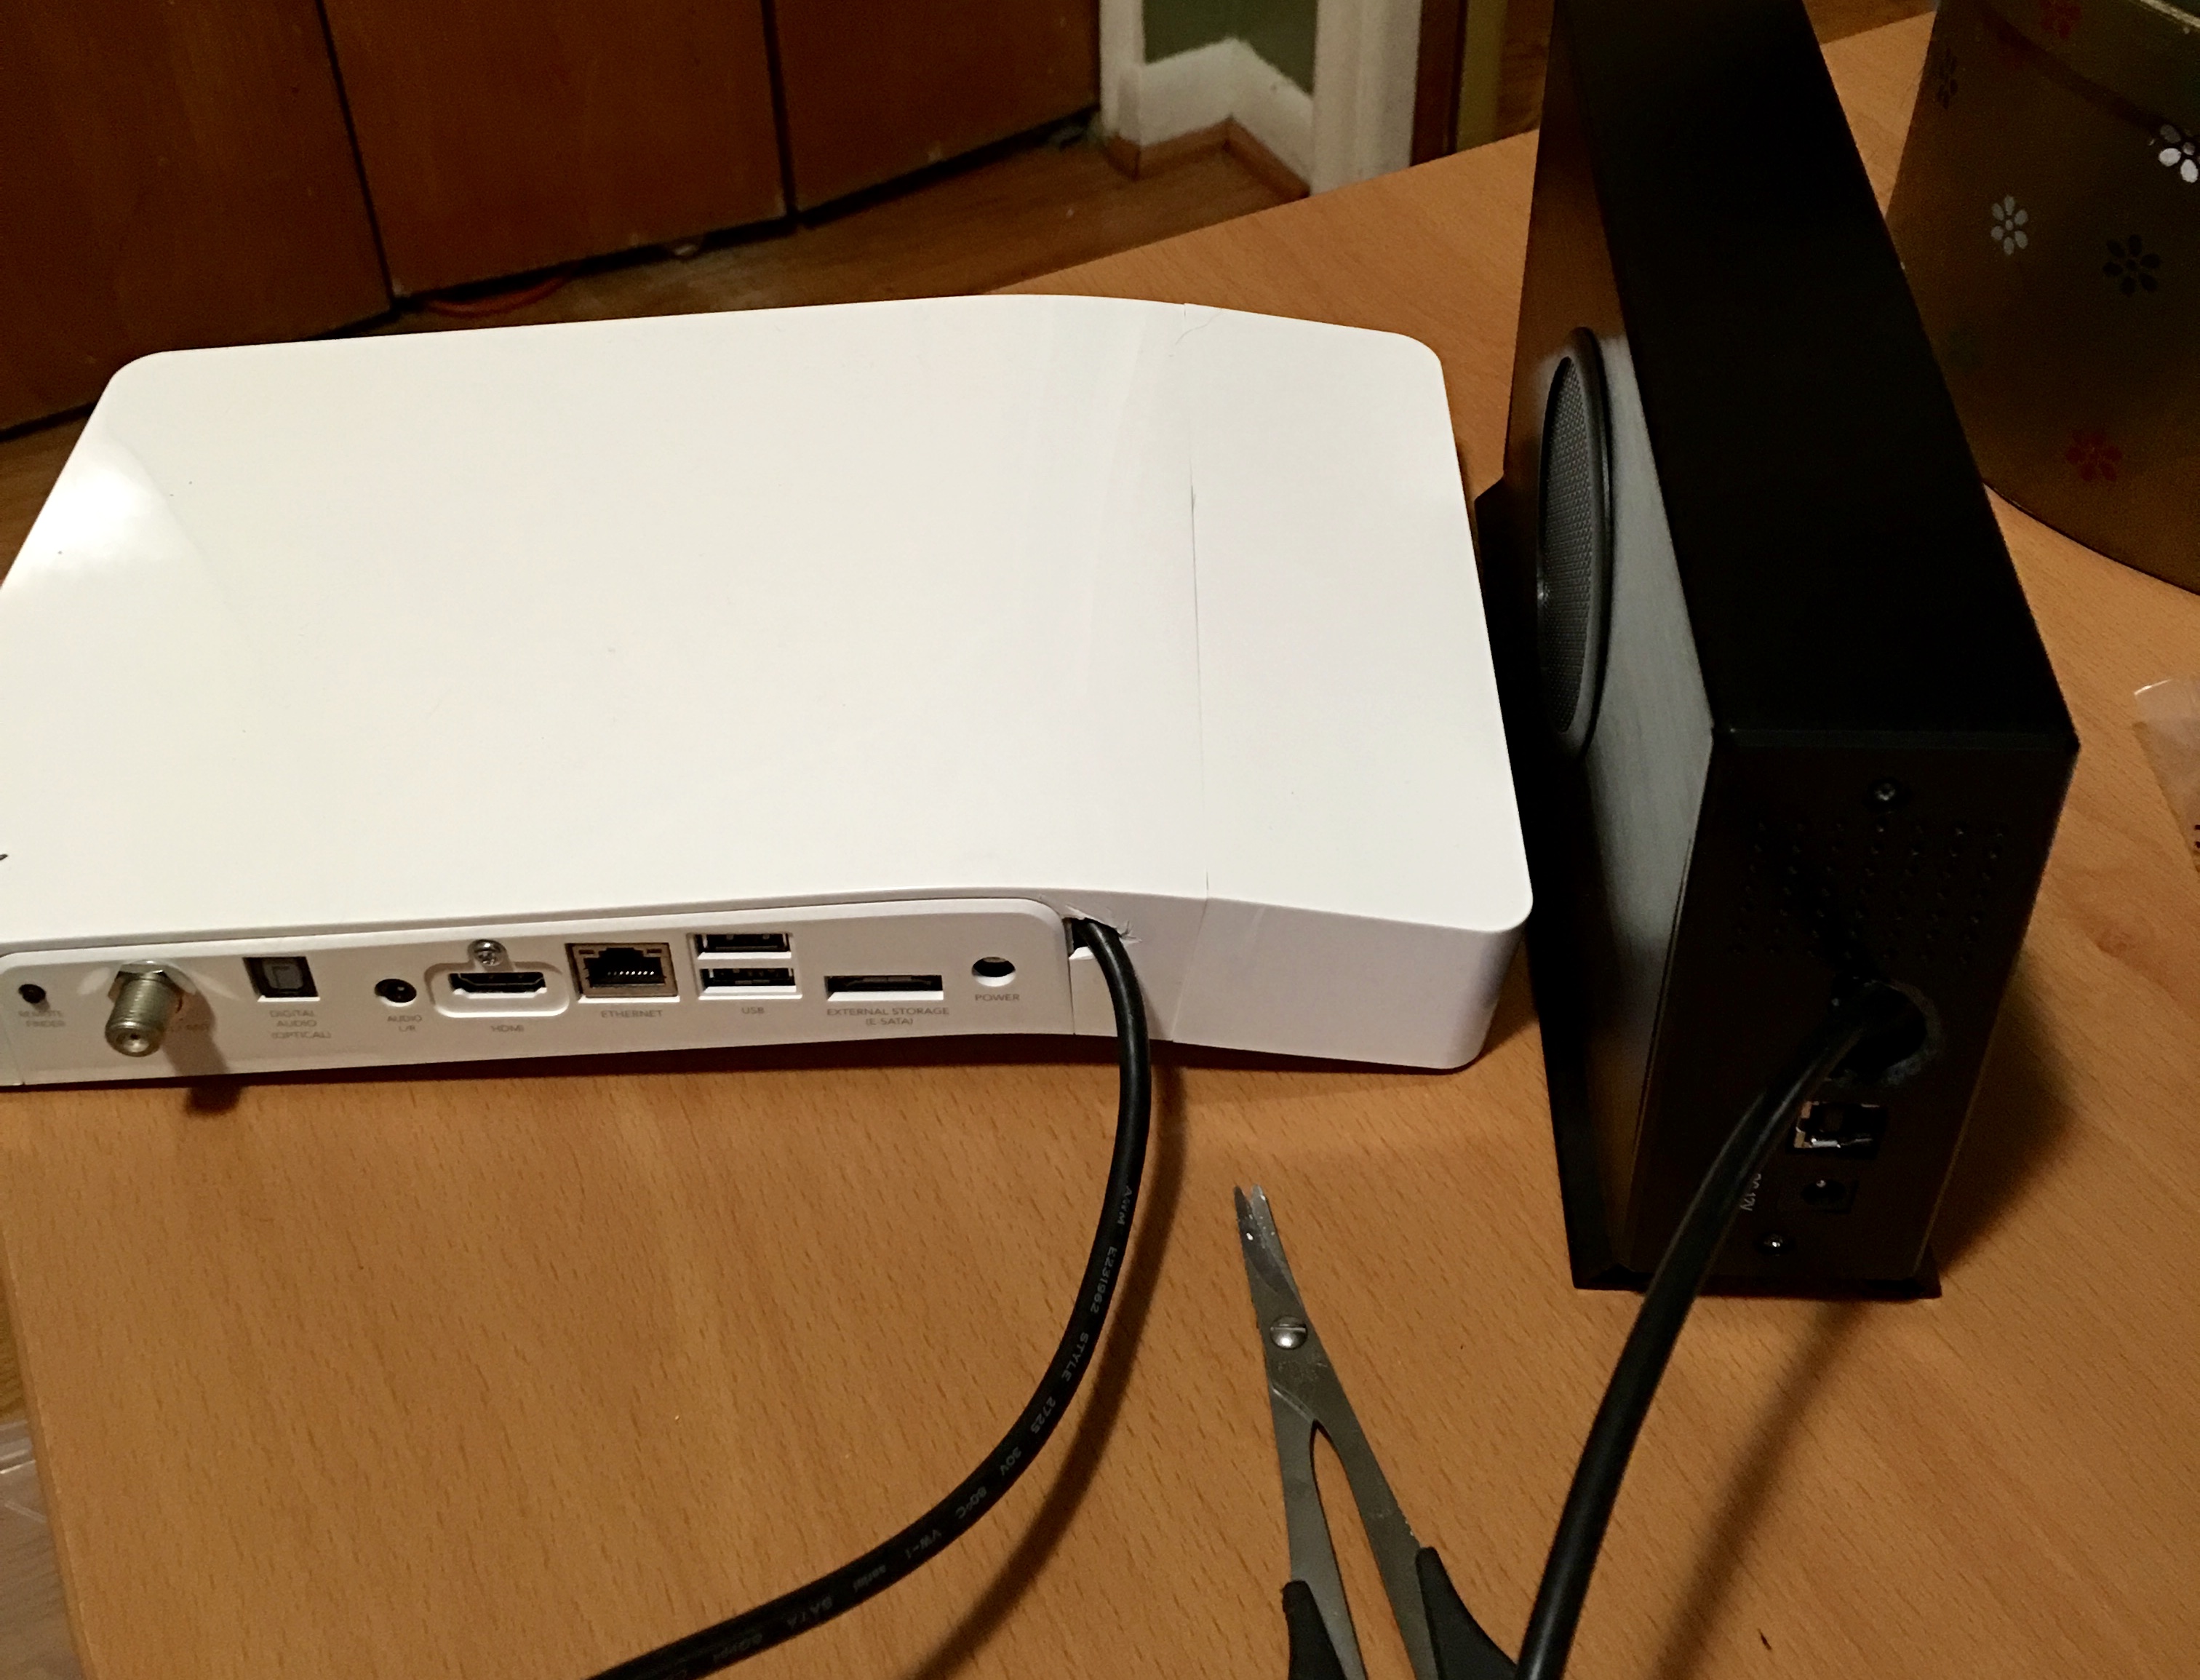
I purchased a 36-inch rounded SATA cable which has one SATA connector as a right-angle so that it fit nicely in the Bolts case when closed. I will then cut a tiny notch in the back plate in order to run the SATA cable out of the Bolt so that the case can be closed.
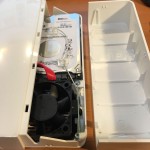
Both the Bolt and the external drive will be out of sight, living their life forever entombed within my equipment cabinet, so I’m not at all concerned having a cable running outside of the unit. The hard disk enclosure simply provides power to the disk. It does also have a small fan to keep it cool.
The 3TB disk that I installed provides an estimated 367 hours of HD recording. This is less than what was reported on the previous Roamio using the same size disk, but as others have reported seems to be the same across the board for all updated Bolts (keeping a ~20% reserve for whatever purpose).
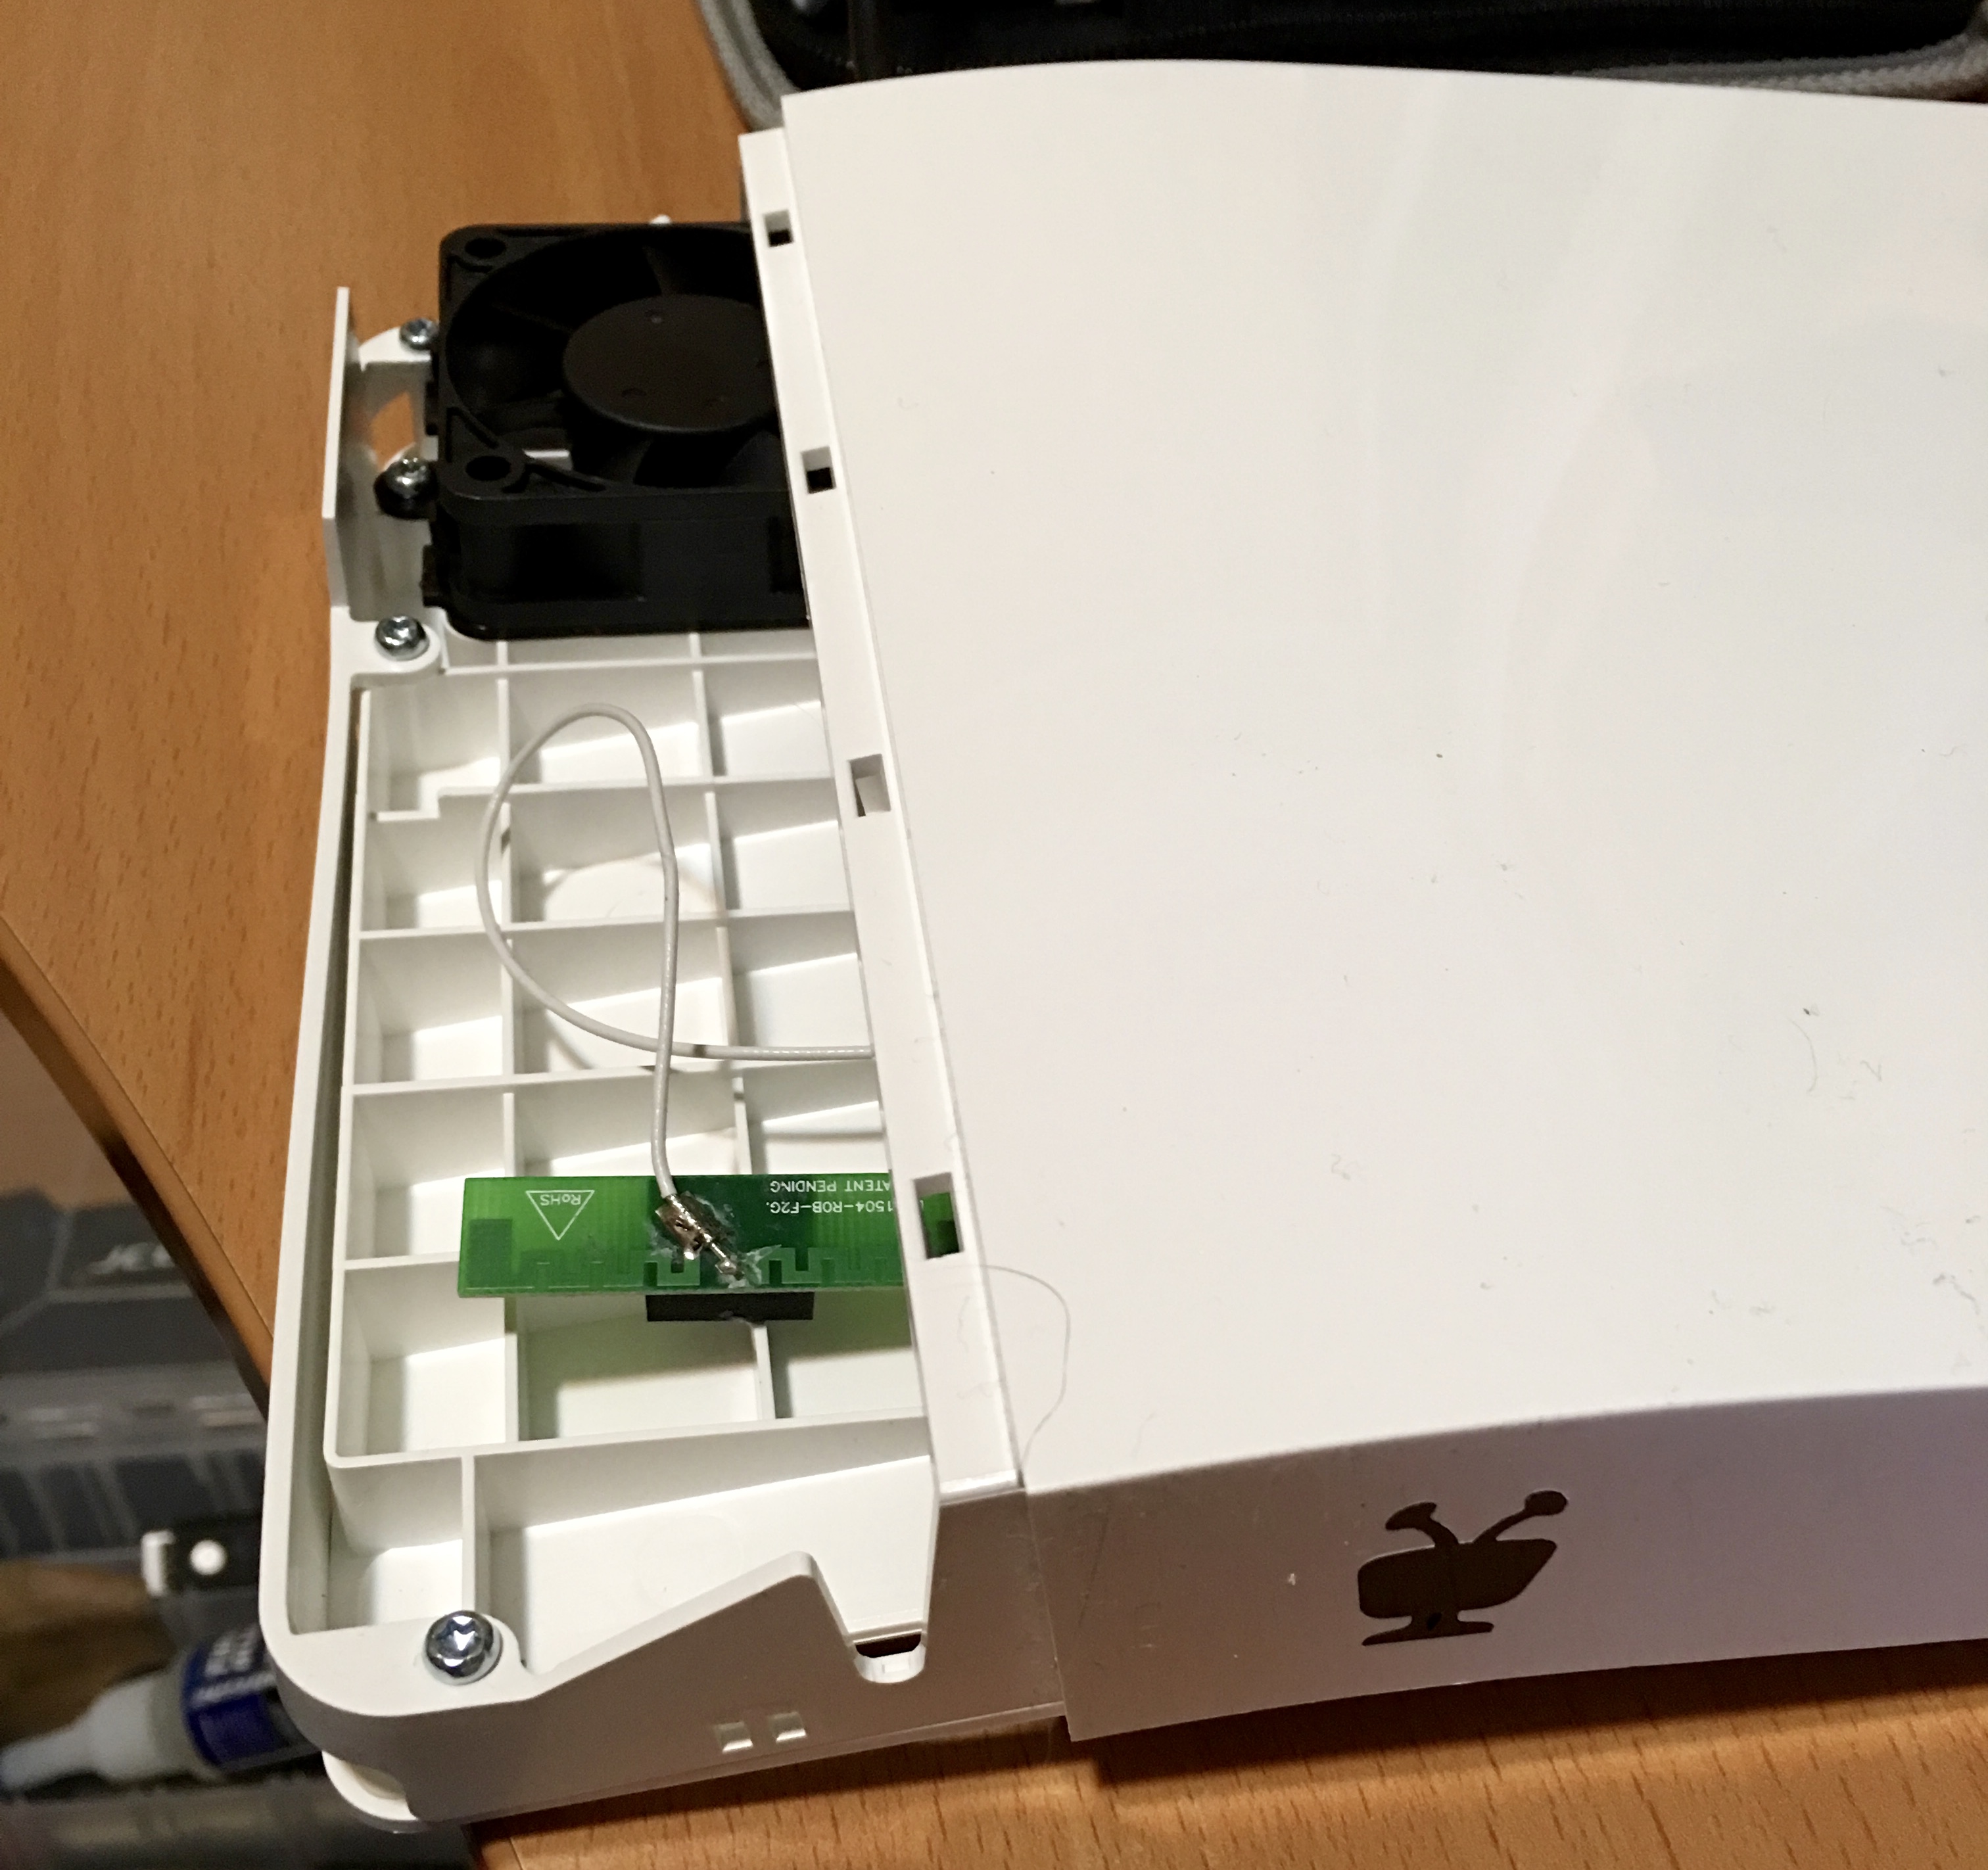
 Putting the Bolt back together without the internal disk.
Relocated the antennae that was previously stuck to the fan (for no real reason other than I could).
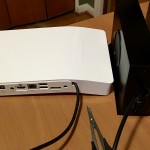 Picture showing the hastily cut holes in back of the Bolt and the disk enclosure. Thin plastic which was easily cut with pair of lexan scissors I had lying around.
October 4th, 2015 in
Hardware | tags:
Hardware,
TiVo |
No Comments
This article was prompted by sheer boredom while stuck somewhere with time metered free wifi (that is, free for the price of coffee)
Since the system didn’t require logins, I assumed that it instead used the MAC address of the wireless interface, so I correctly assumed that it would just be a matter of spoofing a different address.
Steps to change MAC address on OS X (Current as of 10.6.x)
- Open terminal window, determine which interface is your wifi interface. In examples, we’ll use en0.
- Type ‘ifconfig en0 |grep ether’ to determine your current MAC address. Might as well copy that.
- If you are currently associated with an access point, proceed to the next step. Otherwise skip to step 5.
- To dis-associate from access point, while keeping the wireless interface up, type following: ‘sudo /System/Library/PrivateFrameworks/Apple80211.framework/Versions/Current/Resources/airport -z’
- Enter the new MAC address: ‘sudo ifconfig en0 ether 00:11:22:33:44:55’. NOTE: you can simply change the last digit of your current address which will suffice. Remember this is in hexadecimal, so 0-F are valid.
- Verify: ifconfig en0 |grep ether. You should see the new MAC address for the interface. If not, it’s likely that you were still associated to the access point. (Cannot change while associated)
- Connect to the wireless network, proceed to the login page or whatever mechanism that is in use, and enjoy the renewed block of time. It is probably good form to order another coffee if you are going to stay awhile…
Note: You can for whatever reason revert to the standard MAC Address by using the same ‘sudo ifconfig en0 ether aa:bb..” command, or simply reboot where it will be read from the address burned onto the card.
April 8th, 2011 in
Macintosh |
No Comments
Some pics of the Macbook Pro Optical bay adapter installation that I purchased from Maxupgrades (www.maxupgrades.com), which appears to be the same as the ‘DataDoubler‘ sold by OWC. And while I generally prefer ordering from OWC, it doesn’t appear that they offer the same usb superdrive case.
The optical drive bracket is made of a solid piece of aluminum, in which the disk drive (SSD in this case) is mounted. The SATA adapter circuit board is attached to the bracket by the way of three screws. The hard disk is then mounted to the bracket by two screws on one side of the drive. I have no worries about mounting an SSD drive in this adapter, but it would have been nice to have all four mounting points of the drive used.
The external USB powered superdrive kit is nearly identical to the Macbook Air Superdrive. Obviously, the build quality is lacking in this knockoff , as the entire top is relatively flimsy plastic, where the Air Superdrive is sturdy aluminum, but it gets the job done and far better than some of the other external slim dvd cases that I’ve seen.

The Maxupgrades Optical Bay kit including usb case for Superdrive

The cheap, but perfectly adequate, set of tools included in the kit.

The optical drive bay frame. Solid piece of aluminum and is a perfect fit.
")
A view of the the OWC SSD drive mounted in the optical drive bay adapter.

Bottom view of SSD drive and SATA adapter

- The USB case looks very much like the Air Superdrive

The Superdrive just sort of wedges into the case.

- Optical bay adapter mounted in the 17inch Macbook Pro.
Having trouble installing certain Ruby gems (mysql) on Mac OSX 10.6? MacPorts ?
Error message similar to this?:
mkmf.rb can’t find header files for ruby at /System/Library/Frameworks/Ruby.framework/Versions/1.8/usr/lib/ruby/ruby.h
Solution: Reinstall Xcode. To verify this problem, you can run ‘which make’ from terminal and most likely you will receive no response if you are getting the missing header file error.
March 9th, 2011 in
Code Snippets |
Comments Off on Ruby/Other: Fix for missing header files on Mac OSX 10.6
Being in that the optical drive in the iMac uses a full speed SATA connection (albeit using a ‘slimline’ SATA connector), and the fact that I rarely use optical media – I decided to swap out the Superdrive with a 128GB SSD drive.
Not large enough to use for all of the data on the iMac, but more than enough for the OS, all of my apps, and even a couple VMWare fusion images I use on a regular basis. Meanwhile the 1TB 3.5 drive handles all the rest of the junk (download files, iTunes library, etc.)
The results – After cloning my boot drive (SuperDuper), and restarting – the boot time was cut down to less than 1/4 of what it was with the 1TB drive. Launch times on big/slow apps (Eclipse, DBvisualizer, MS Word,etc.) is incredible.
Notes: The slimline 2.5 Caddy was purchased from NewmodeUS.
A couple pics:

SSD Drive and Slimline sata drive caddy

SSD Mounted in Caddy

The iMac opened up, exposing the Superdrive

SSD installed
 Just some pics from taking apart my new 27-inch iMac.
The pictures will just have to speak for themselves for the time being.
November 17th, 2009 in
Hardware,
Macintosh |
Comments Off on iMac 27 Takeapart
For whatever reason, when adding a project from SVN without first creating the PHP project, you lose code assist.
Found a very useful post that addressed this, with a pretty simple fix by editing the .project file:
Change buildCommand name to:
org.eclipse.php.core.PhpIncrementalProjectBuilder
And natures to:
org.eclipse.php.core.PHPNature
Refresh/Rebuild and Zend/Eclipse will once again be as helpful (or annoying) as ever.
I recently decided to trade up from my Mac Mini, and into something a bit more powerful. Which led me to create the ‘DorkPro‘.
Made out of cheap PC hardware and put into carefully wedged into a discarded G5 case, the Dork Pro performs like a real Mac Pro, at a fraction of the cost.
Read Article

Warranties be damned. This article explains how to connect larger/faster full size 3.5-inch hard disks to Mac Mini using eSATA.
The Mac Mini is modified to route the internal SATA port to be used as an eSATA connection, providing full native SATA speed, which is much faster than Firewire 400 or USB 2.0.
Read Article
April 10th, 2009 in
Hardware | tags:
mac mini hack |
No Comments


")


